How to Make Lavender Handmade Soap for Beginners (Easy No-Lye Recipe)
Last updated: March 11, 2026
Method: Melt and Pour (No Lye)
Prep Time: 15 minutes
Set Time: 4 hours (overnight is better)
Yield: 8–10 bars
Cost: ~$15–20 for first batch
Skill Level: Complete beginner
Why Bother Making Your Own Lavender Soap?
I used to spend $8 on a bar of lavender soap at the farmers market every few weeks, and I didn't even blink at it. Then one afternoon I sat down and actually added up what I was spending — and decided it was time to figure out if I could make it myself.
Turns out I could. For about $18, I made a full loaf of lavender soap that cut into ten bars. That's less than $2 a bar — and the batch took me about 15 minutes to put together.
But cost isn't the only reason to make your own. When you make handmade soap, you control every ingredient — no synthetic fragrance, no sulfates, no detergent fillers. And here's something a lot of people don't know: commercial soap manufacturers remove the natural glycerin that forms during soapmaking and sell it separately in lotions. Handmade soap keeps all of it, which is why homemade bars tend to feel so much more moisturizing on your skin.
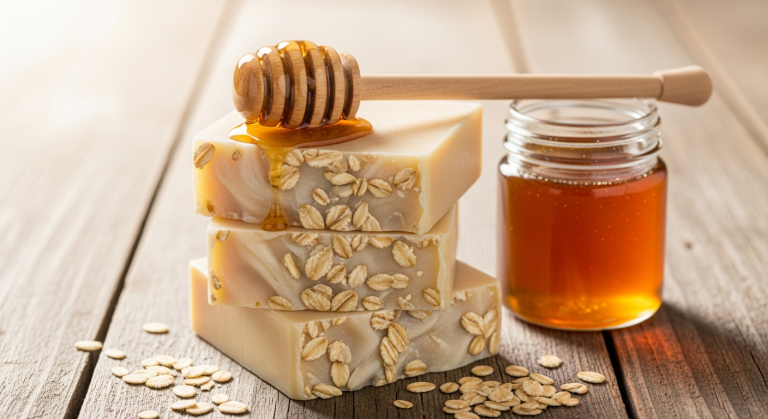
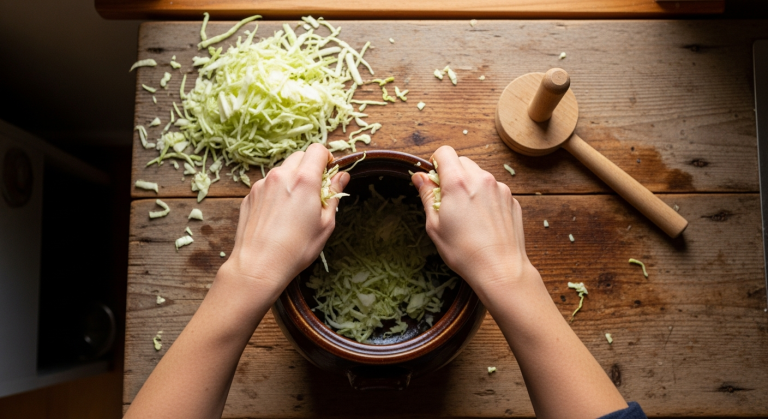
And honestly? Making a bar of soap is one of the most satisfying things you can do on a homestead. You start with a block of soap base and a bottle of lavender oil, and an hour later you have something beautiful and useful that you made yourself.
 dried lavender buds on rustic wood plank”>
Melt and Pour vs. Cold Process Lavender Soap — What's the Difference?
If you've searched for lavender soap recipes, you've probably come across two very different approaches and had no idea which one to try. Here's the plain-language version:
Melt and pour soap uses a premade soap base — the chemistry has already been done for you. You melt it, add your lavender essential oil and colorant, pour it into a mold, and it's ready to use in about four hours. No lye, no special safety equipment, no waiting weeks.
Cold process soap is made from scratch, which means combining oils with lye (sodium hydroxide) to trigger a chemical reaction called saponification. The result is fully customizable and retains every bit of the natural glycerin, but it requires careful lye handling and a 4–6 week cure time before you can use it.
| Melt and Pour | Cold Process | |
|---|---|---|
| Lye required? | No | Yes |
| Time to use | 4 hours | 4–6 weeks |
| Skill level | Beginner | Intermediate |
| Customization | Good | Maximum |
| Glycerin retained? | Partially | Yes (full) |
| Best for | First-timers, gifting | Serious soapmakers |
If this is your first time making soap, start with melt and pour. You'll get a beautiful result, you'll build your confidence, and when you're ready for more — cold process will be right there waiting. It's not scary, it's just the next level.
What You'll Need to Make Lavender Soap at Home
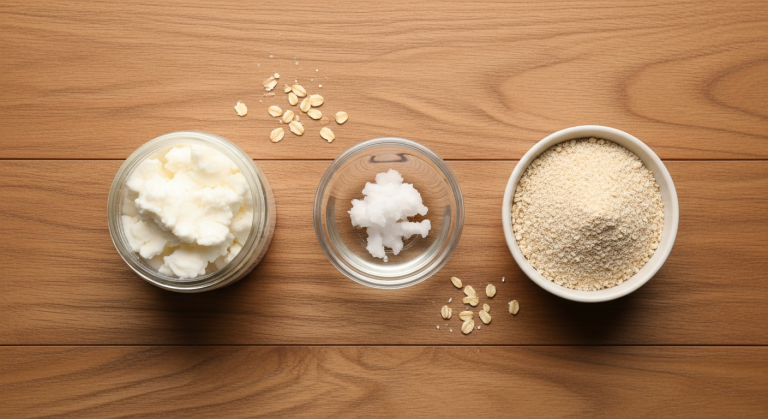
Ingredients
- 16 oz shea butter melt-and-pour soap base — the premade base that does all the chemistry for you. Shea butter gives the finished bars a creamy, moisturizing lather that feels much nicer than plain glycerin base alone.
- 20–30 drops (about 1 tsp) lavender essential oil, lavandula angustifolia — look for 100% pure lavandula angustifolia, which is true lavender. "Lavender 40/42" is a standardized blend that works too, but angustifolia gives you the most authentic lavender scent.
- 1/4 cup dried lavender buds, for topping only — and I mean only on top. Mixing dried lavender into soap batter is a common beginner mistake that leads to brown, unattractive bars. More on that in the tips section.
- Optional: 1/4 tsp purple Brazilian clay or purple mica powder — for a soft lavender-purple color without any artificial dye. Both are beginner-safe and easy to use.
Equipment (You Probably Already Have Most of This)
- Microwave-safe glass measuring cup (2-cup size) — for melting and pouring
- Silicone soap mold or a loaf pan lined with parchment paper — a silicone mold makes unmolding much easier, but a standard loaf pan with parchment works perfectly for a first batch
- Rubber spatula — for stirring
- Knife — for cutting the soap base into cubes before melting
That's it. No digital scale required for melt and pour, no safety goggles, no special ventilation. If you have a measuring cup and a microwave, you can make this today.
Lavender Soap Recipe — Step by Step
-
Cut the soap base into 1-inch cubes. This helps it melt evenly and quickly. A serrated knife works great.
-
Melt the soap base in the microwave in 30-second intervals, stirring between each one, until fully melted and smooth. Don't microwave it all at once — it can overheat and get bubbly. Usually takes 2–3 rounds.
-
Add colorant now if you're using it. Stir 1/4 tsp of Brazilian clay or purple mica into the melted base until fully blended. This is the time to get your color right before adding the fragrance.
-
Add the lavender essential oil and stir gently. Use 20–30 drops (about 1 tsp) for a 16 oz batch. Stir slowly to avoid introducing air bubbles.
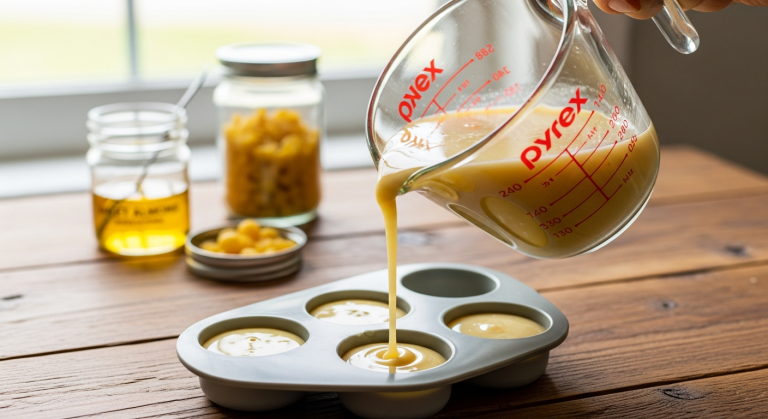
-
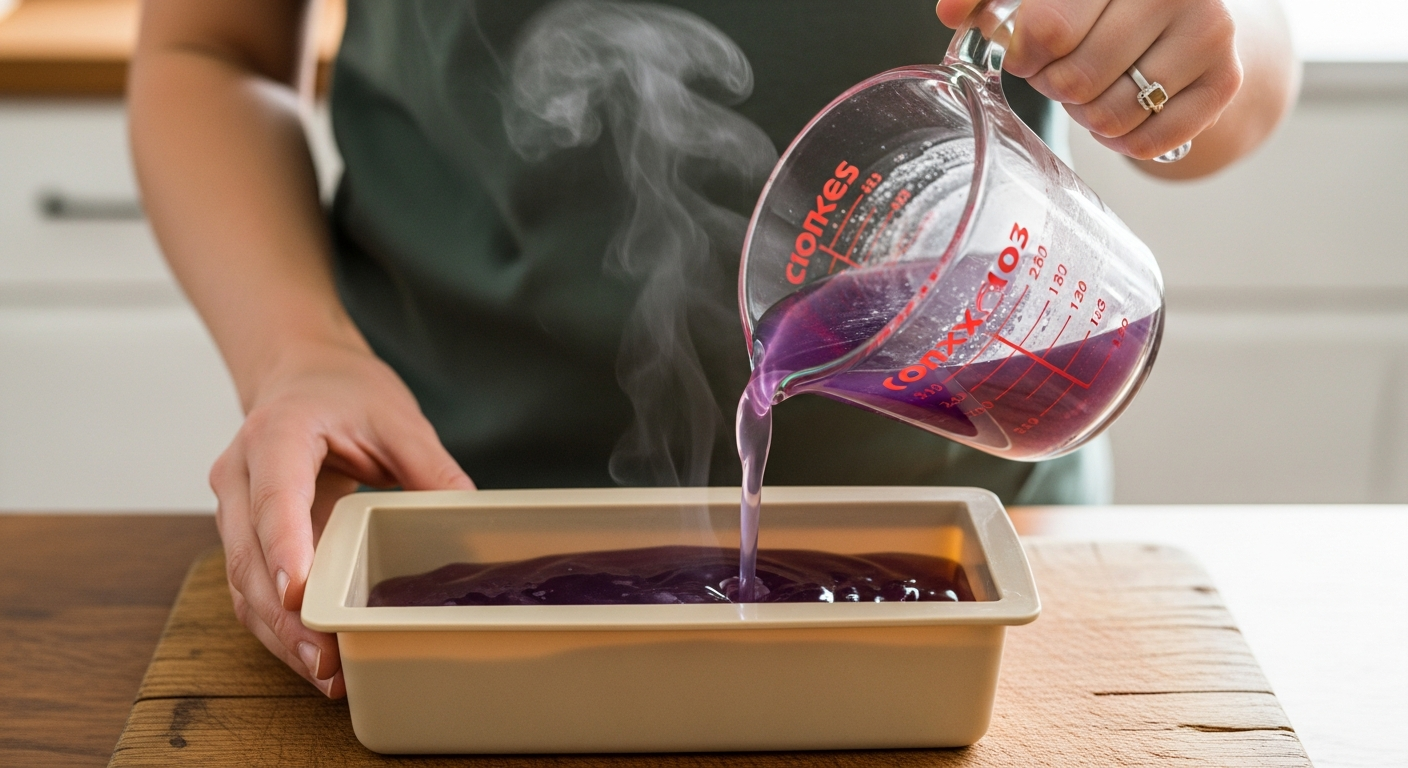
Pour the melted soap into your mold in one steady pour. Tap the mold gently on the counter a couple of times to release any trapped bubbles.
-
Spritz the top with 91% isopropyl alcohol. This pops surface bubbles and — here's the important part — helps the lavender buds adhere so they don't fall off when the soap is unmolded.
-
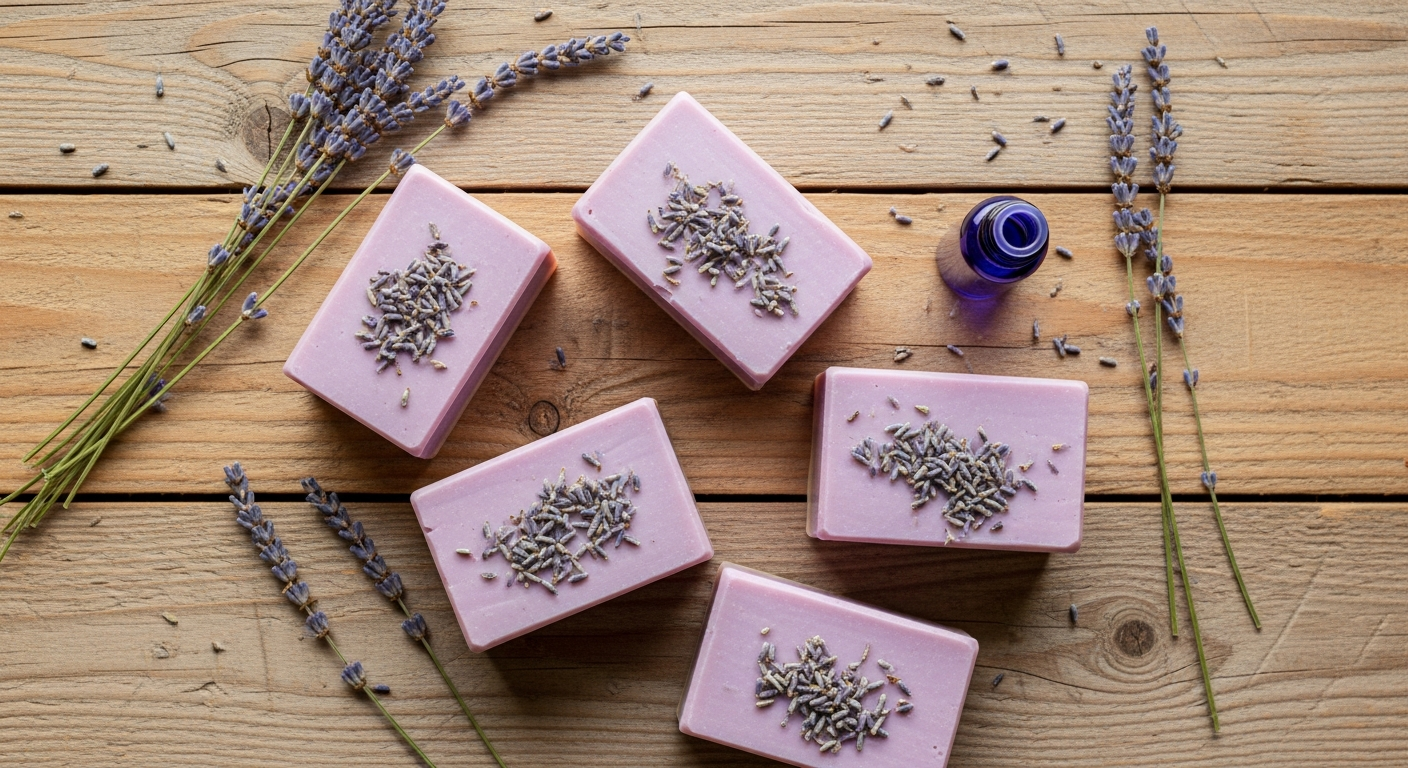
Sprinkle dried lavender buds on top while the soap is still liquid but starting to skin over. Gently press them down so they set into the surface.
Jen's Note: Do NOT stir dried lavender buds into the batter. When dried lavender is submerged in hot soap, it oxidizes and turns an ugly brown color — not the pretty purple you're picturing. Sprinkled on top after pouring, they'll stay beautiful. I learned this the hard way my first batch. To really make your bars gift-worthy, a soap stamps adds a beautiful professional touch with almost no effort.
-
Let the soap set at room temperature for at least 4 hours. Overnight is even better. Resist the urge to check on it every 20 minutes.
-
Unmold and slice into bars. If the soap sticks, pop the mold in the freezer for 15 minutes — it'll release cleanly. Slice into bars with a sharp knife and they're ready to use right away.
Lavender Soap Tips That Make All the Difference

Don't mix lavender buds in — sprinkle on top. This is the most important tip in this entire post. Dried lavender oxidizes in hot soap batter and turns brown. Always add lavender buds to the surface after pouring, not into the mix. Spritz first with rubbing alcohol so they stick properly.
Getting purple: Brazilian clay is your easiest option. Add 1/4 tsp of purple Brazilian clay to the melted base before pouring. It gives a soft, natural-looking lavender hue with zero fuss. Purple mica powder also works and gives a slightly more vibrant color. Start with less than you think you need — you can add more on your next batch.
More essential oil is not better. Adding more than about 1.5 tsp per 16 oz of base can cause the soap to "sweat" — you'll notice small beads of moisture on the surface. It's harmless, but it looks strange and can make the soap feel sticky. Stick to 20–30 drops and trust the process.
Unmolding: patience wins. Minimum four hours before you try to unmold, and overnight is genuinely better. If you're using a silicone mold and it's still sticking, put it in the freezer for 15 minutes. It'll pop right out.
Scent fades over time. Melt and pour soap loses fragrance faster than cold process because the essential oil isn't locked into the same chemical structure. Your bars will smell strongest in the first few months. Plan smaller batches if you're making these as gifts — fresher bars make a much better impression.
Is Lavender Soap Good for Your Skin?
The short answer is yes — and not just because it smells wonderful.
Lavender essential oil has documented antimicrobial and calming properties. Research shows it has measurable effects on anxiety and nervous system activity when inhaled, which is why it's so commonly used in aromatherapy. In skincare, lavender oil is known for its skin-soothing qualities and is often used to help calm irritated or sensitive skin. The concentration in a bar of soap is light, but it's there — and it's real.
Beyond the lavender itself, handmade soap retains all of its natural glycerin. Glycerin is a humectant — it draws moisture from the air to your skin. Commercial soap manufacturers routinely remove glycerin from the manufacturing process and sell it separately in lotions and moisturizers. When you make your own soap (or buy genuine handmade soap), that glycerin stays right where it belongs.
And without synthetic fragrance or sulfates in the formula, melt and pour lavender soap tends to be much gentler on sensitive skin than store-bought body wash or commercial bar soap.
As for the old folk practice of putting soap under your pillow — that's really about lavender's scent and its association with relaxation and sleep. Many people find the aroma of lavender genuinely soothing at night, and keeping a bar near your pillow is a simple, low-stakes way to take advantage of it. Whether it works for you is personal, but the lavender scent itself is genuinely calming — so it makes sense that people gravitate toward it at bedtime.
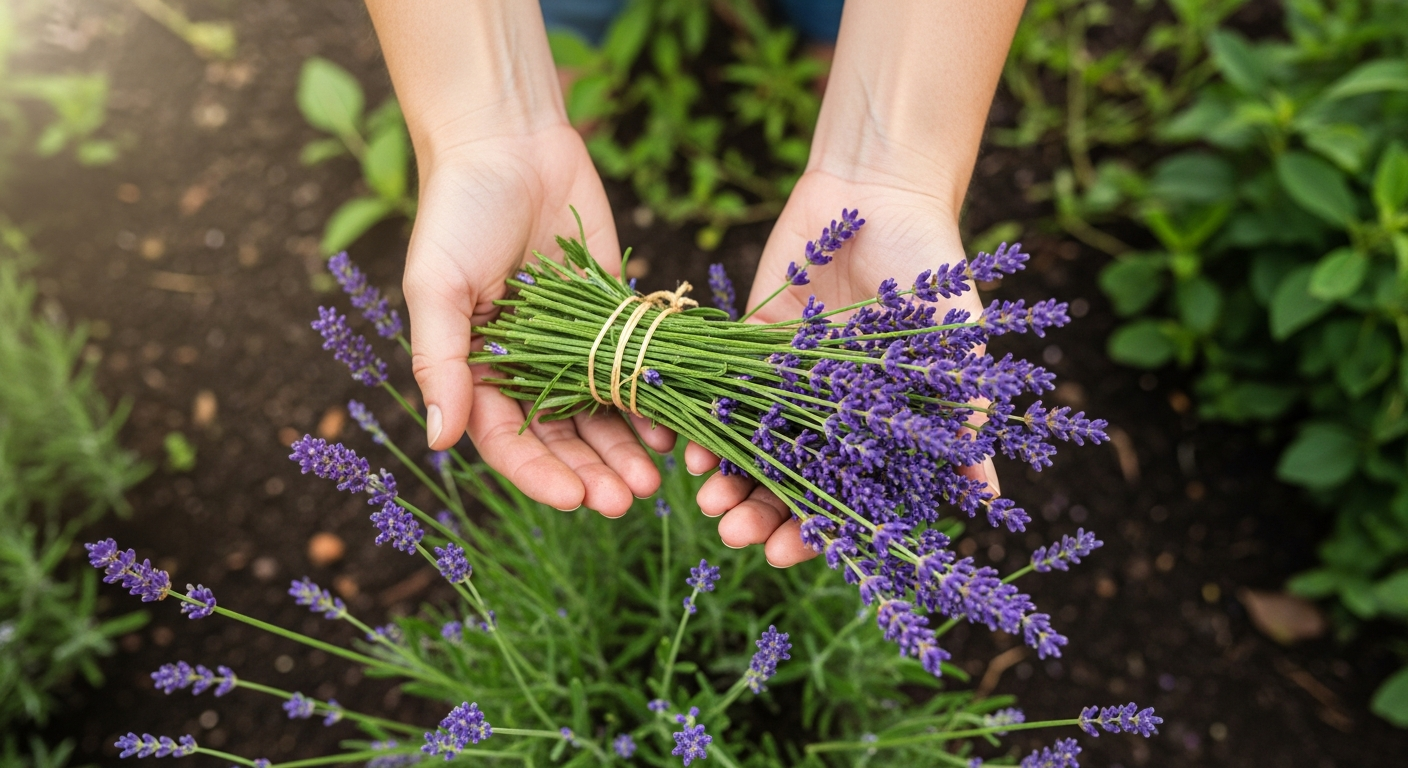
Growing Your Own Lavender for Soap (Homestead Bonus)
If you grow lavender in your garden, you already have a built-in soap ingredient right outside your back door. Last summer I harvested enough from two plants to last the whole winter — enough for soap, dried arrangements, and a few batches of lavender sachets.
For soap use, harvest lavender just before the buds fully open. That's when the essential oil content is highest, which means more fragrance in your finished bars. Cut the stems long and bundle them together in small bunches. Hang them upside down somewhere cool and dry — a garage, a pantry shelf, even a back porch out of direct sun — for two to three weeks until fully dried.
Once dried, strip the buds off the stems and store them in a glass jar with a lid. They'll keep for up to a year and work beautifully as a soap topper. Growing your own also means you know exactly what was sprayed on your lavender — which matters when it's going into something you're putting on your skin.
When you're ready to try cold process soap someday, you can also infuse your dried lavender into olive oil and use that as part of your oil blend — another way to bring your garden straight into your soapmaking.

How Long Does Homemade Lavender Soap Last?
Melt and pour lavender soap has a shelf life of one to two years when stored properly. That's plenty of time to work through a full loaf batch — though in my house, lavender soap doesn't usually last anywhere near that long.
The key is storage: keep your bars somewhere cool and dry, away from direct sunlight and steam. A linen closet shelf or a basket on a bathroom counter (not inside the shower) works perfectly. Bars left sitting in a wet soap dish will get soft and slimy fast — get a soap dish that drains, or just set the bar on a dry ledge.
One thing to know: the lavender scent will start to fade after about six to twelve months, even with good storage. The soap is still perfectly usable, it just won't smell as strongly. If you're making a batch to give as gifts, use the freshest bars — and if you want to be thoughtful about it, add a small "made in [month, year]" tag so the recipient knows when it was made.
Ready to Level Up? Try Cold Process Lavender Soap Next
If you've made a batch of melt and pour lavender soap, you've already done the hardest part of learning to make soap: you've stopped being intimidated by it.
Cold process is the natural next step — and it's more approachable than it sounds. Yes, it involves lye, and yes, that requires some basic safety habits (gloves, goggles, ventilation). But millions of home soapmakers work with lye safely every day, and it's a completely learnable skill. What you get in return is full control over your oil blend, a richer lather, and complete glycerin retention — plus the satisfaction of making soap entirely from scratch.
The cure time is the main adjustment: cold process soap needs four to six weeks before it's ready to use. But if you make a loaf in October, you'll have beautiful Christmas gifts in December.
When you're ready, I'll have a full cold process lavender soap guide here with a tested recipe, exact ratios, and a beginner-friendly walk-through of working with lye safely.
Frequently Asked Questions About Lavender Handmade Soap
Can I make lavender soap without lye?
Yes — that's exactly what this recipe is. Melt and pour soap uses a premade base that handles all the chemistry for you. No lye, no safety equipment, no waiting four to six weeks for a cure. You can make a batch and use it the same day.
How much lavender essential oil do I add to soap?
For a 16 oz melt and pour soap base, use 20–30 drops (about 1 teaspoon) of lavender essential oil. Adding more than that can cause the soap to sweat — you'll notice small beads of moisture on the surface. It's harmless, but it means you've used more oil than the base can hold.
Why is my lavender turning brown in the soap?
Dried lavender flowers oxidize when mixed directly into hot soap batter, which turns them an unattractive brown color. Always sprinkle dried lavender buds on top of the poured soap after it starts to set — spritz the surface with rubbing alcohol first so the buds stick — and they'll stay beautiful and purple.
What does putting soap under your pillow do?
This folk remedy is really about lavender's scent and its well-documented association with relaxation and better sleep. Keeping lavender soap near your pillow — or tucked inside your pillowcase — lets you benefit from the calming aroma as you drift off. It won't harm anything, and if lavender genuinely helps you unwind at night, it's a pretty low-effort way to use that to your advantage.
How long does homemade lavender soap last?
Melt and pour lavender soap lasts one to two years when stored in a cool, dry place away from direct sunlight. The scent will begin to fade after about six to twelve months, so use the freshest bars for gifts.