How to Make Cultured Buttermilk at Home: Beginner's Guide (2026)
Last updated March 12, 2026
Two ingredients. A mason jar you already own. Eight hours of patience. That's genuinely all it takes to make real cultured buttermilk at home — the thick, tangy, probiotic-rich kind that makes your biscuits rise higher and your fried chicken taste better than anything from a store carton. I kept buying buttermilk for years, throwing away half the carton, and never thinking twice about it. Then I realized I could make it myself, keep a batch going indefinitely, and never spend money on it again.
| At a Glance | |
|---|---|
| What you need | Milk + cultured buttermilk with live cultures |
| Hands-on time | 5 minutes |
| Total time | 8–24 hours (mostly hands-off) |
| Shelf life | 2–4 weeks fridge; up to 6 months frozen |
| Cost | Pennies per quart after your first batch |
What Is Cultured Buttermilk (And How Is It Different from the Vinegar Trick)?
There are actually three things people call "buttermilk," and they're not the same:
| Type | How It's Made | Live Cultures? | Best For |
|---|---|---|---|
| Traditional buttermilk | Liquid left from churning butter | No | Old-fashioned recipes |
| Cultured buttermilk | Milk fermented with live bacteria | Yes | Baking, drinking, gut health |
| Buttermilk "substitute" | Milk + vinegar or lemon juice | No | Emergency baking only |
Traditional buttermilk is the thin liquid that's left over after you churn cream into butter — old-fashioned, not commonly found anymore, and not what recipes mean when they call for buttermilk. The vinegar-and-milk hack mimics the acidity of buttermilk and works in a pinch for baking, but it has no live cultures and it doesn't produce the same depth of flavor or lift. Cultured buttermilk — the kind you find at the grocery store and what we're making here — is milk that's been fermented with live beneficial bacteria, the same basic process as yogurt. Cultured buttermilk is what you buy at the store and what we're making, and it's a completely different animal from the vinegar hack.
Why Bother Making It at Home?
Here's why this is worth five minutes of your time:
- It's essentially free after your first batch. A quart of store-bought cultured buttermilk costs $2–4 and gives you maybe two recipes worth. Once you've got a culture going, your next quart costs whatever a cup of regular milk costs — pennies.
- One carton means endless batches. You save a few tablespoons from each batch to start the next one. That single store-bought carton becomes months of buttermilk, then years. I bought my last carton over a year ago.
- Your baking genuinely improves. Real cultured buttermilk has a depth of tang and a leavening power that the vinegar substitute doesn't fully replicate. The biscuits are fluffier. The cornbread browns better. If you've ever wondered why grandma's biscuits hit differently, this might be why.
- It's a fermented food, which means live probiotic cultures. I'm not going to make big health claims here, but cultured buttermilk has the same general benefit as yogurt and other fermented dairy — live bacteria that support gut health. It's a small, easy win.
What You Need
You probably already have everything. Here's the full list:
Ingredients:
- Milk — any fat level works; whole milk gives the thickest result
- Cultured buttermilk — MUST say "live active cultures" on the label. This is the most important thing in this whole article. Many store brands say "cultured buttermilk" but the cultures are no longer active. Check the label. Powdered buttermilk does not work for this.
Equipment:
- A clean mason jar (pint or quart size)
- A loose-fitting lid, or a piece of cloth secured with a rubber band
- Optional: a kitchen thermometer
That's it. Seriously.
Which Milk Should You Use?
Any milk works, but the fat content affects how thick your finished buttermilk will be. Use what you have — it'll be fine either way.
- Whole milk → thickest, creamiest result; best for drinking and baking
- 2% milk → good texture, slightly thinner; works well for all baking
- Skim milk → thinnest consistency; perfectly fine for baking, not ideal for drinking straight
- Raw milk → works beautifully with the same process; often produces the thickest result of all
How to Make Cultured Buttermilk — Step by Step
Don't overthink this — it's very forgiving.
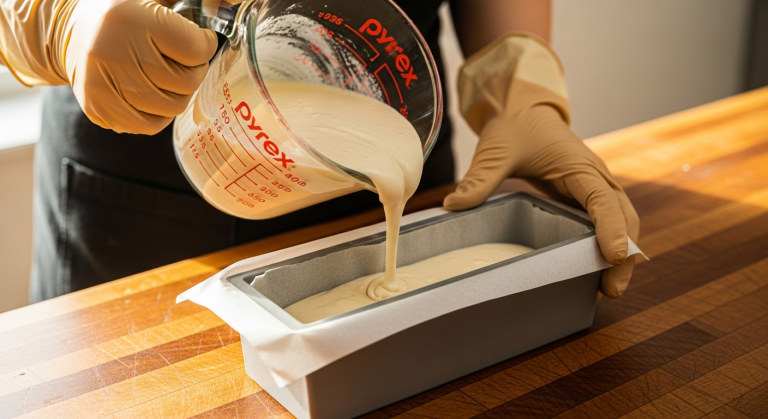
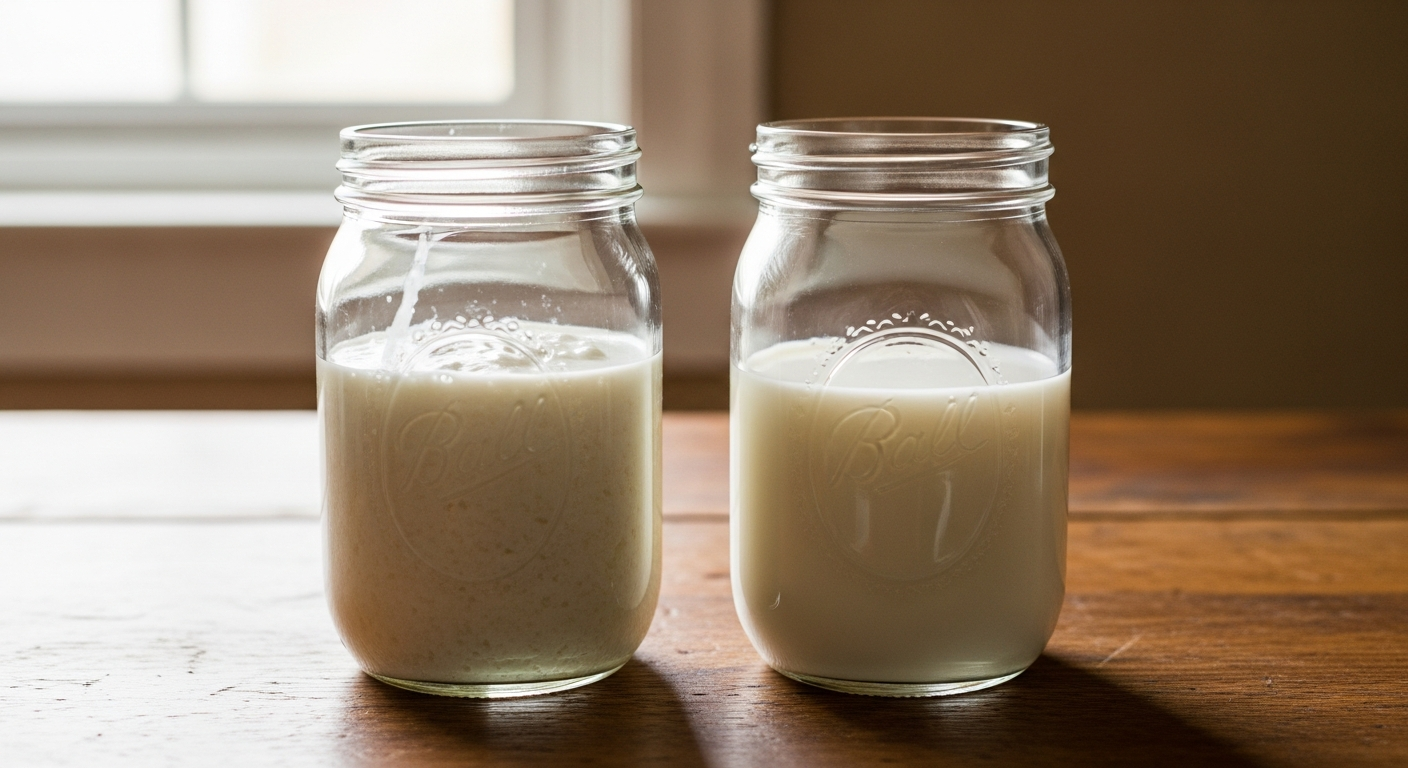
- Pour milk into a clean pint or quart mason jar. A pint (2 cups) is a good starting size.
- Add 1 tablespoon of cultured buttermilk per cup of milk. For a pint: 2 tablespoons. For a quart: 4 tablespoons. That's your starter.
- Stir or gently shake to combine.
- Place a loose lid or cloth cover on the jar. You want it covered but not airtight — the culture needs to breathe, and a tight lid can let pressure build up.
- Set the jar in a warm spot — between 68°F and 77°F. Near your stove works well. The top of your refrigerator (not inside, just on top) stays nicely warm. Don't put it near a heating vent where it could get too hot, and avoid a cold pantry or basement room in winter.
- Keep it away from other ferments. If you have sourdough starter, milk kefir, or yogurt going, set the buttermilk at least 6 feet away. The different cultures can interfere with each other.
- Leave it undisturbed for 8–24 hours. Check it at the 8-hour mark, especially if your kitchen runs warm.
- Test for doneness (see below), then refrigerate for at least 6 hours before using.
- Before you put it in the fridge: set aside your starter for the next batch. Pour out 1 tablespoon per cup of milk you plan to make next time, and keep it in a small jar in the fridge. This is your culture. Guard it.

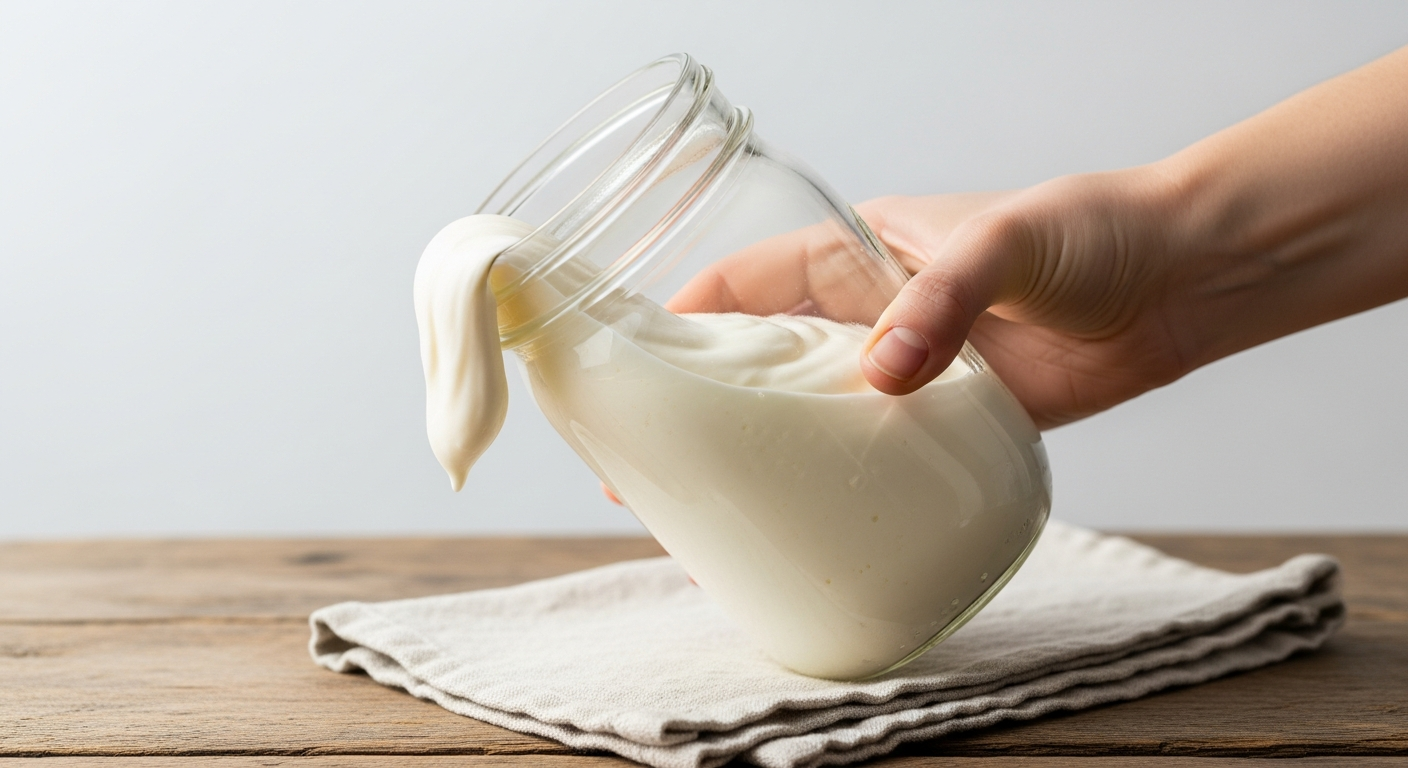
The Tilt Test — How to Know When It's Done
When you think it might be ready, gently tilt the jar. If the buttermilk moves away from the side in one smooth, cohesive mass — the way yogurt would — rather than running like liquid milk, it's set. The smell should be pleasantly tangy and sour, like plain yogurt or a mild sourdough. That's the smell of live cultures doing exactly what they're supposed to do. If the smell is sharp in a bad way, or you see any mold, discard it and start over. Cool kitchens will need closer to 24 hours; warm kitchens can set in as little as 8 hours. When in doubt, give it another hour.
Cultured Buttermilk Troubleshooting — Why It Didn't Set (And How to Fix It)
This is the most common question I get about cultured buttermilk. You did everything right and it still looks like regular milk after 24 hours. Here's why that happens and how to fix it:
- "Live cultures" label missing — most common cause. Many brands say "cultured buttermilk" on the front but the back label doesn't list live cultures. The bacteria didn't survive pasteurization or storage. Fix: buy a different brand, check the back label specifically for "live active cultures," or start over with a fresh carton.
- Temperature too cold (below 65°F). The mesophilic bacteria that culture buttermilk go dormant when it's too cold. Fix: move the jar somewhere warmer — near the stove, on top of the fridge, or inside your oven with just the oven light on (that gentle warmth is perfect).
- Temperature too hot (above 80°F). Heat kills the cultures. If your jar sat near a heating vent or in a very warm kitchen, the bacteria may not have survived. Fix: move to a cooler spot and start fresh.
- Too close to another active ferment. Sourdough starter, kefir, and yogurt all have competing cultures. Cross-contamination can prevent your buttermilk from setting correctly. Fix: move the buttermilk at least 6 feet away from any other fermentation project.
- Used ultrapasteurized (UHT) milk. Some ultrapasteurized milk ferments slowly or not at all — the extra heat treatment changes the milk proteins. Look for regular pasteurized milk instead.
I've made every one of these mistakes. It's not a disaster — it just means starting over with fresh milk and a fresh carton. It'll work.
How to Keep Making More Forever (Reculturing Your Buttermilk)
This is the best part: you only need to buy buttermilk once.
Before you refrigerate each finished batch, set aside your starter for the next one:
- Pour off 1 tablespoon per cup of fresh milk you plan to make — so 2 tablespoons if you're doing a pint, 4 if you're doing a quart. Keep this in a small jar in the fridge.
- Store the starter for up to 2 weeks. It stays active in the cold, just dormant. Beyond 2–3 weeks, the culture may start to weaken — you can usually revive it with one fresh batch, but after 4 or more weeks, you may need to restart with store-bought.
- When you're ready for a new batch, use your saved starter exactly as you'd use the store-bought buttermilk. Same amounts, same process.
For larger batches — say, a half-gallon at a time — use ¼ cup of starter per quart of milk. The ratio scales up easily. Once you've got the hang of culturing buttermilk, you can also use it as a starter for homemade sour cream, but that's a whole other guide worth saving for another day.
How Long Does Cultured Buttermilk Last?
Here's some good news: cultured buttermilk lasts significantly longer than regular milk. The live cultures actually help preserve it.
| Storage Method | How Long | Notes |
|---|---|---|
| Refrigerator | 2–4 weeks | Gets tangier over time — this is normal and fine |
| Freezer | 3–6 months | Freeze in ice cube trays; thaw overnight in fridge |
| Counter (while culturing) | 8–24 hours only | Refrigerate once it sets |
Your nose knows the difference between pleasantly sour and actually bad. Buttermilk always smells tangy — that's the cultures. If the smell shifts from "pleasantly tangy" to something that just seems off or putrid, or if you see any visible mold, toss it. But most of the time, by the time your buttermilk is 3 weeks old, you'll have already used it up anyway. The tangier it gets over time, the more active the culture — that's not bad, it's just stronger-flavored. Use the tangier batches for baking where the flavor gets baked in rather than drinking straight.
One important note on freezing: frozen buttermilk works great in recipes after thawing, but the freezing process kills most of the live cultures. Thawed buttermilk won't reliably start a new batch — always keep some fresh unfrozen buttermilk back for your next starter.
What to Make with Cultured Buttermilk
Now for the fun part. Once you've got a jar going, you'll find yourself looking for reasons to use it.
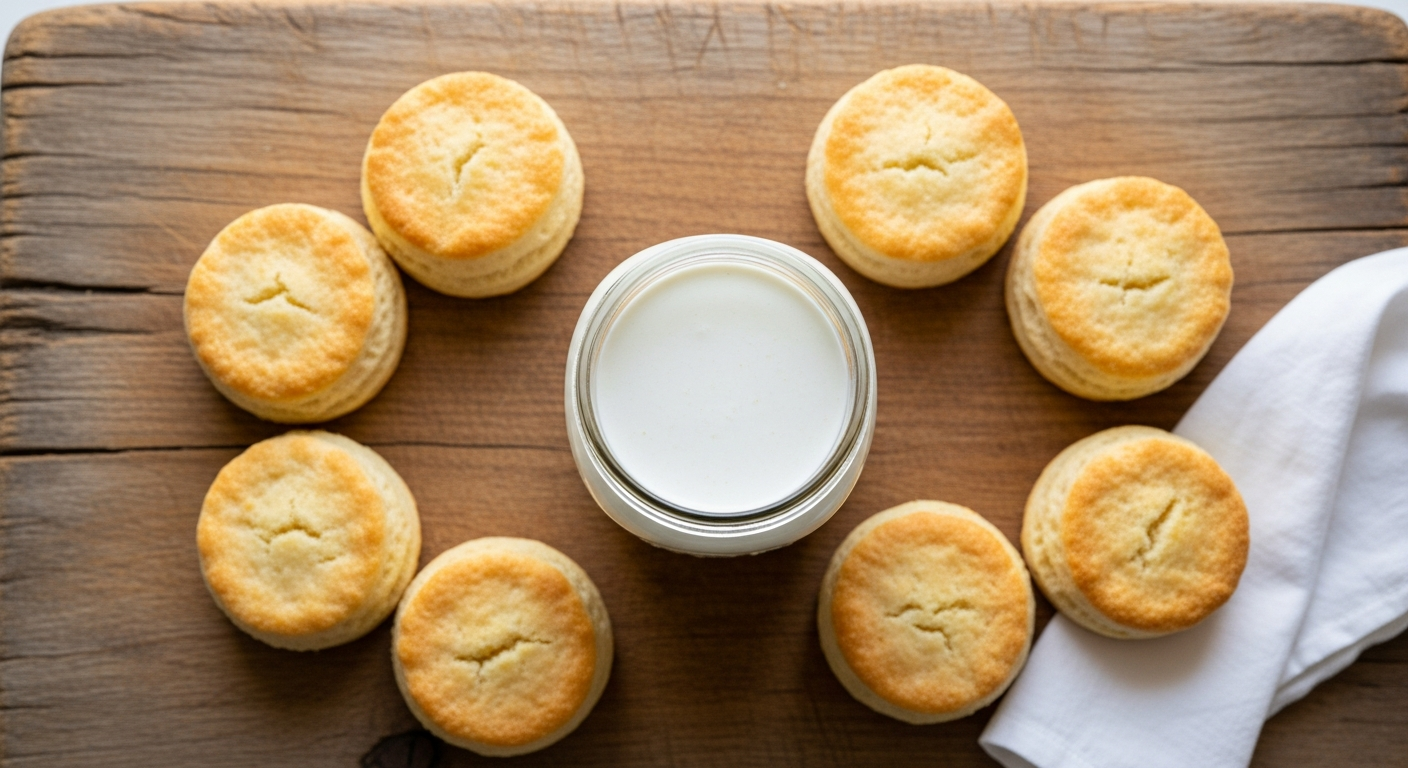
Baking:
- Biscuits (this is where you'll really notice the difference — fluffier, more tender, better rise)
- Pancakes and waffles
- Cornbread
- Buttermilk cake, quick breads, and muffins
- Dinner rolls
Savory:
- Buttermilk fried chicken (marinate overnight — the enzymes in cultured buttermilk tenderize the meat better than plain milk)
- Homemade ranch dressing
- Salad dressings and creamy dips
- Soups and chowders that call for cream or milk
More fermented foods:
- Use as a starter for homemade sour cream (coming soon)
Frequently Asked Questions About Cultured Buttermilk
What is a good substitute for cultured buttermilk in baking?
Mix 1 tablespoon of white vinegar or fresh lemon juice into 1 cup of regular milk. Stir and let it sit for 5 minutes — it'll curdle slightly. This creates the acidity that activates leavening agents in baking, so your biscuits will still rise. It won't have the same depth of flavor or live cultures, but it works well in a pinch. Use this when you're out and need to get dinner on the table.
Is cultured buttermilk good for you?
It's a genuinely beneficial fermented food. Cultured buttermilk contains live probiotic bacteria — similar to what's in plain yogurt — that support gut health and digestion. It's also lower in fat than whole milk and easier to digest for many people. It's not a superfood and I'm not going to oversell it, but if you're already adding fermented foods to your diet, this is an easy and delicious addition.
Can I use yogurt to start a batch of cultured buttermilk?
Plain whole-milk yogurt can work as a starter in a pinch, but the cultures aren't quite the same. Buttermilk uses mesophilic bacteria that ferment at room temperature, while most yogurt uses thermophilic cultures that prefer heat. The texture and flavor of a yogurt-started batch may differ somewhat. It's worth trying if that's what you have, but for consistent results, store-bought cultured buttermilk with live active cultures on the label is your best bet.
What's the difference between cultured buttermilk and kefir?
Both are fermented dairy products with live cultures, but they're made differently. Kefir uses a SCOBY — a culture that contains a mix of bacteria and yeast — and is typically thinner and more probiotic-diverse than buttermilk. Cultured buttermilk uses mesophilic bacteria only, is thicker and milder, and is better suited to baking. Think of buttermilk as the kitchen workhorse and kefir as the probiotic powerhouse drink. They're siblings, not twins.
Can you freeze cultured buttermilk?
Yes. Freeze it in ice cube trays, then transfer the frozen cubes to a freezer bag. Each cube is roughly 2 tablespoons — convenient for pulling out just what a recipe needs. Thaw overnight in the fridge. One caveat: freezing kills most of the live cultures, so thawed frozen buttermilk is great for baking but won't reliably start a new culture batch. Always keep some fresh, unfrozen buttermilk set aside for your next starter.