The Best Stick Blender for Soap Making (and Why Most Advice Is Wrong)
Last updated March 11, 2026
When I started making cold process soap, I went down every rabbit hole trying to figure out what equipment I actually needed. The stick blender question should have been simple — but half the articles I found were telling me I needed "at least 500 watts," which turned out to be completely wrong. I'd wasted time reading advice that didn't apply to soap at all.
Here's the truth: you only need one stick blender for soap, it costs around $30, and the soapmaking community has already agreed on which one it is. The rest of this guide explains exactly what to look for — and what to ignore.
At a Glance: Best Stick Blenders for Soap Making
| Best Overall | Best Budget | Best for Volume | |
|---|---|---|---|
| Pick | Cuisinart Smart Stick | Austria Mueller or OVENTE | KitchenAid |
| Price | ~$30–35 | ~$15–25 | ~$60–80 |
| Why | Community favorite, quiet, no suction issues | Gets the job done for first batches | Quietest, durable for regular use |
Do You Actually Need a Stick Blender to Make Soap?
It depends on how you're making soap — and the answer is very different depending on which method you're using.
If you're making melt-and-pour soap (the beginner-friendly method where you melt a pre-made soap base and add fragrance and color), you don't need a stick blender at all. It's a simple melt-and-stir process. If you're just getting started, a basic melt-and-pour recipe like this lavender soap is a great first project — no special equipment required.
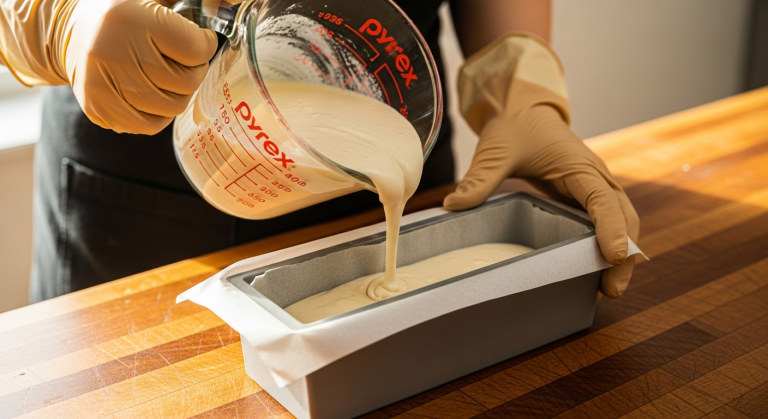
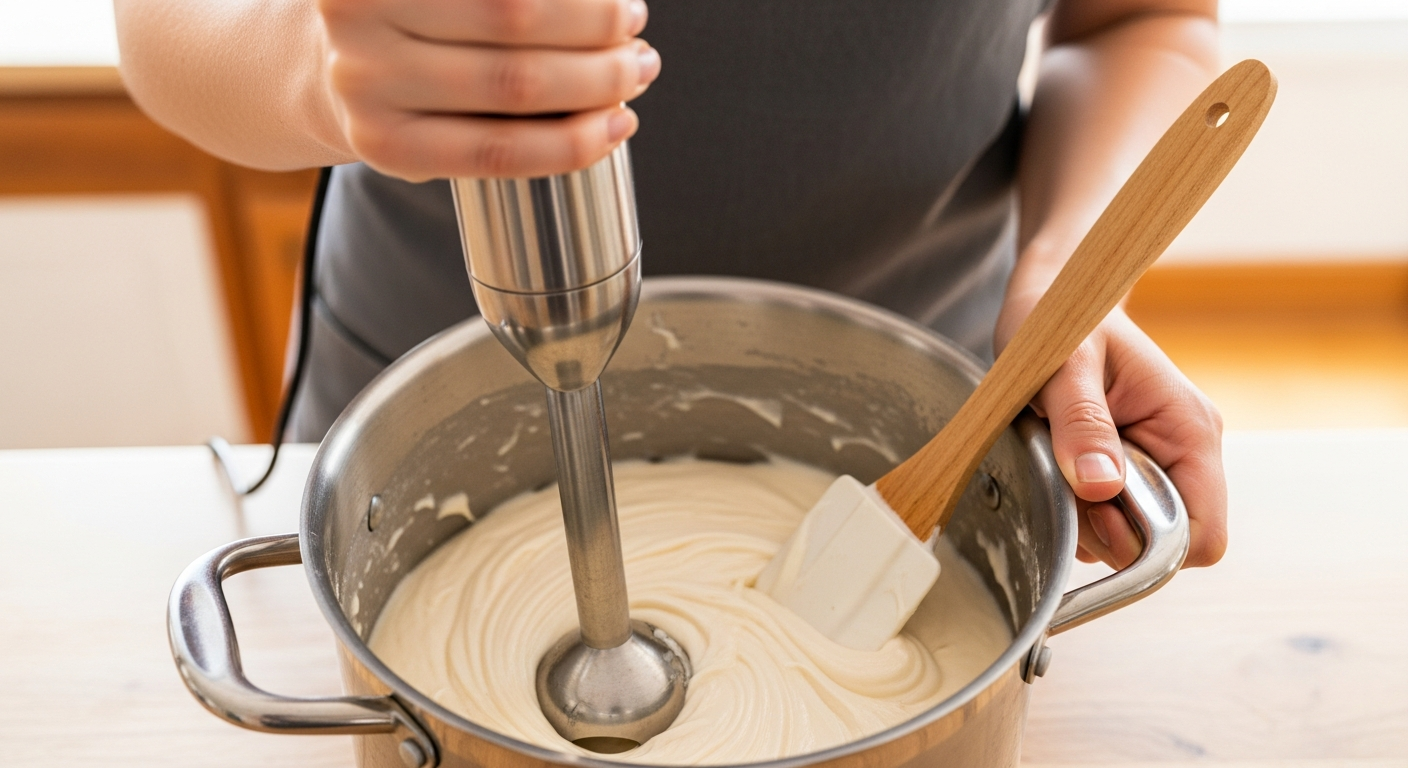
If you're making cold process soap with lye, a stick blender is close to essential. Cold process soap requires your oils and lye water to emulsify and thicken to what soapmakers call "trace" — the point where the batter holds its shape. Without a stick blender, reaching trace by hand stirring takes 45 to 60 minutes. With a stick blender, it takes 3 to 5 minutes. I made my first cold process batch with a stick blender on hand, and I genuinely can't imagine doing it without one. That 5-minute window is also when you add your colorants and fragrance — over-blend and you'll run out of time before the soap goes into the mold.
If you're doing cold process, get a stick blender. It's not optional in any practical sense.
Can You Use Your Kitchen Stick Blender?
No — and this is a safety issue, not just a preference.
Lye (sodium hydroxide) is a caustic chemical that can linger on blades and in the crevices of a stick blender even after a thorough washing. If trace amounts of lye transfer from your blender to your food, that's a real problem. Essential oils used in soap also persist on equipment long after washing. Once a stick blender has been used for soap, it needs to be dedicated to soap only.
The good news is that this is actually the frugal choice. Buy a $20 budget stick blender to keep in your soap-making kit, and write "SOAP ONLY" on it with a Sharpie so it never accidentally migrates back to your kitchen. That protects your expensive kitchen stick blender and keeps your food safe. A $20 dedicated soap blender is the right move — not using your $80 KitchenAid for a batch of cold process and hoping it rinses clean.
What to Look for in a Soap Making Stick Blender
Most advice online tells you to shop by wattage. This is wrong, and once you understand why, you'll save yourself money and buy a much better blender.
Why Wattage Doesn't Matter (And What Does)
Here's the counterintuitive truth that the experts at Soap Making School figured out after years of teaching: you only ever use the lowest speed setting when making soap. Running a stick blender on high speed introduces air bubbles into your soap batter, which can cause a grainy texture and ruin the batch. A 200-watt blender on low speed does exactly the same job as a 1,000-watt blender on low speed. Don't pay extra for wattage — it's irrelevant to soap making.
What actually matters is the bell design. That's where you should focus your attention.
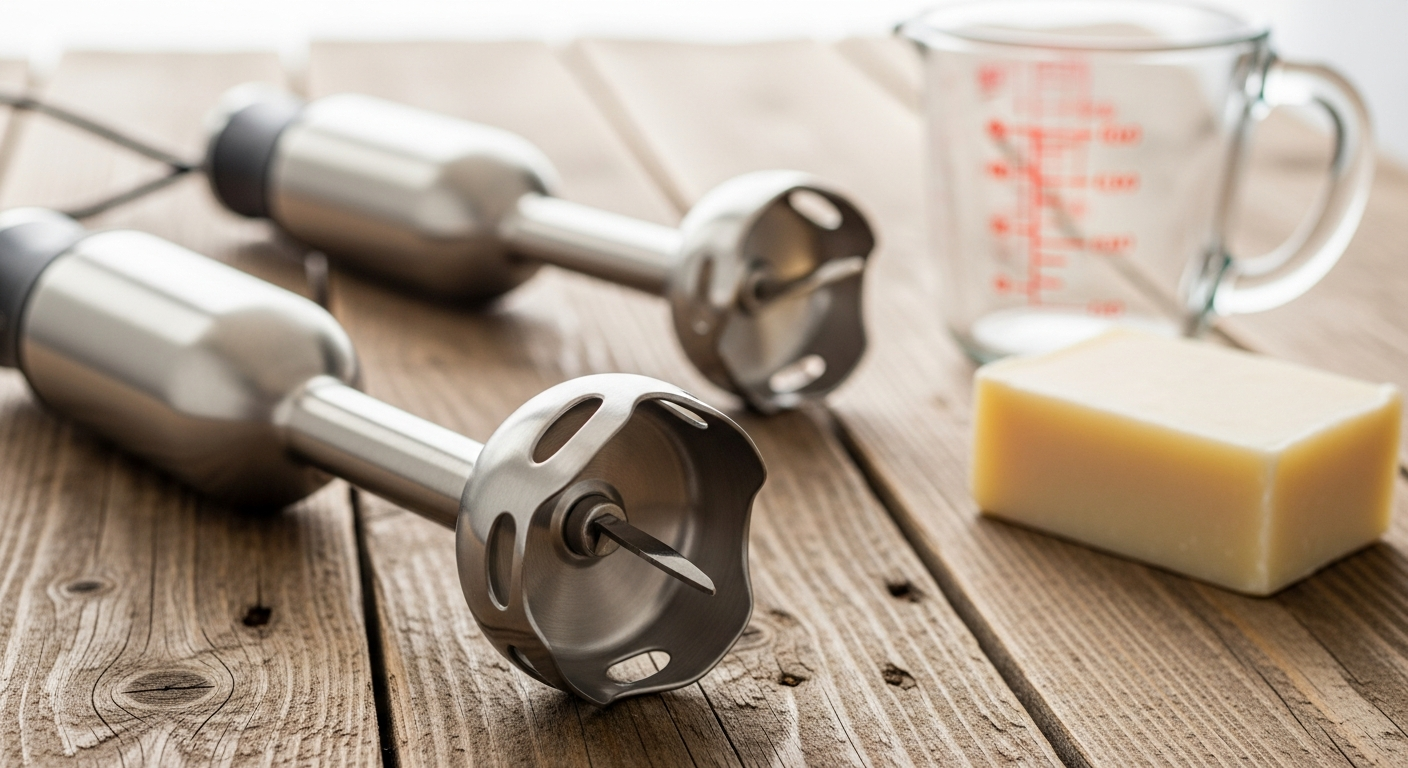
The Bell Design Is Everything
The bell is the bottom end of your stick blender — the cup-shaped part that holds the blade. For soap making, you want to check four specific things before buying:
- No screws visible in the blade area. Any exposed screws in contact with lye batter will corrode and fail. Blenders with screws in the blade housing are the first to break down with regular soap use.
- Smooth bottom rim with no grooves. Grooved rims cause uneven mixing and are harder to clean. Look for a clean, smooth rim all the way around.
- Shorter bell head. A shorter bell head reduces the chance of soap batter splashing out while you're blending — important when you're working with raw batter that still contains lye.
- Lower side holes. Some blenders have high side holes on the bell casing. These allow soap to splash out through the opening while you blend. Lower holes keep the mess contained.
One important note on materials: for regular cold process soap, stainless steel or plastic bells both work. If you make hot process soap (which involves heat), plastic can crack or melt — stick with stainless steel. And zinc or aluminum bells are not suitable for soap making at all — they aren't alkali-rated for sodium hydroxide.
This is also where the Bamix warning comes in. Bamix makes excellent, expensive stick blenders — but their bell is zinc or aluminum, not rated for sodium hydroxide. Despite Bamix's reputation for quality, it is not suitable for soap making. A $30 Cuisinart will serve you better for this specific task.
Removable Shaft Makes Cleanup Easier
A detachable blending shaft lets you remove just the bottom section for rinsing — which is useful when you want to clean off lye-containing soap batter without risking water damage to the motor unit. Many detachable shafts are also dishwasher-safe, which makes the whole cleanup process much easier. This feature isn't a dealbreaker if you're on a tight budget, but it's worth having.
Two Speed Settings Are All You Need
Don't spend extra for 8-speed or 12-speed variable controls. You'll use the lowest setting almost exclusively, with maybe a brief pulse on medium once or twice per batch. A simple two-speed blender handles every stage of cold process soap making without any of the extra cost.
The Best Stick Blenders for Soap Making — Our Top Picks
Best Overall — Cuisinart Smart Stick (~$30–35)
The Cuisinart Smart Stick is the community consensus pick. If you spend time in the Soapmaking Forum — where experienced soapers with hundreds of batches under their belts share equipment advice — the Cuisinart Smart Stick comes up again and again as the recommendation. It's not a sponsored answer; it's just what the people who make soap every week have landed on.
The reasons are specific to soap making: the motor is quiet (important if you're making soap in a small kitchen or early on a Saturday morning), the bell doesn't suction to the bottom of pots the way Hamilton Beach blenders do, and it produces minimal air bubbles. The two-speed fingertip control is simple and easy to use with one hand. The blending shaft is stainless steel and detaches for easy cleaning. You can often find it at TJ Maxx for under $30, or on Amazon for around $30–35.
This is the one I'd recommend to every beginner getting into cold process soap.
Best Budget Pick — OVENTE 300W or Austria Mueller (~$15–25)
If you're not sure yet whether cold process soap making is going to stick, or you want to spend as little as possible on your first few batches, either the OVENTE 300W or the Austria Mueller will get the job done. Both are under $25 and available on Amazon. The Austria Mueller is specifically recommended by Soapmaking Forum members and is a solid Amazon brand. The OVENTE is a common first-blender pick for new soapers.
Neither of these will hold up as well as a Cuisinart with regular, heavy use. But for someone making one batch a month to try out the hobby, either works fine. Start here if you need to keep the upfront cost low.
Best for Serious / High-Volume Soapmakers — KitchenAid (~$60–80)
If you're making soap multiple times a week — or you're planning to sell and are scaling up — the KitchenAid is worth the investment. The instructor at Soap Making School uses KitchenAid specifically because it's the quietest stick blender in its price range, which matters a lot in a classroom or shared space setting. For smaller-batch hobbyists, the Cuisinart is the better value. But if you're making 100-plus pounds of soap per year, the KitchenAid's durability justifies the price difference.
What NOT to Buy
A few things to avoid:
- Hamilton Beach: The bell has a confirmed suctioning issue — it sticks to the bottom of pots while you blend, which makes technique harder and is frustrating with regular use. Multiple soapmakers in the Soapmaking Forum mention this problem specifically.
- Bamix or any blender with a zinc or aluminum bell: These are not alkali-rated for sodium hydroxide. Bamix is a premium brand that's excellent for food use — but it is not suitable for soap. Very expensive for something you can't use for cold process.
- Any blender with screws visible in the blade area: These are the first parts to corrode with repeated lye exposure. Avoid them even if the price looks good.
How to Use a Stick Blender for Soap (Short Bursts Are the Key)

The biggest mistake beginners make is continuous blending. Running a stick blender nonstop through your soap batter will bring it to thick trace faster than you can react — and then you're stuck with batter that's too thick to add colorants or fragrance to, and definitely too thick to pour cleanly into a mold. Less is more here.
The correct technique uses short bursts:
- Combine your oils and lye water in your pot.
- Submerge the blender head fully in the batter before turning it on — this prevents splashing.
- Blend on low for 2–3 seconds.
- Tap the spatula on the blender head to release any air bubbles trapped in the bell.
- Hand stir with a spatula and watch how the batter changes consistency.
- Repeat 3–4 times until the batter reaches light trace.
Light trace is when the batter has thickened slightly and leaves a faint trail when you drizzle some across the surface. That's your cue to add fragrance and colorants if you're using them, then pour into your mold. Your total stick blending time for a typical batch will be 3–5 minutes — most of the mixing happens by hand stirring between bursts.
How to Clean Your Stick Blender After Soap Making
Clean your stick blender immediately after pouring — don't set it aside and come back to it later. Raw soap batter contains lye, and once it starts to saponify on the blades, it's much harder to remove.
- Immediately after pouring: Fill a container with hot water and run the blender in it for 30–60 seconds. This flushes out most of the soap batter before it has time to harden on the blades.
- Clean the blade creases: Use a dedicated toothbrush — one you've labeled "soap only" and keep in your soap-making kit — to scrub the narrow spaces around the blade and inside the bell. Don't skip this step; soap batter gets into every crevice.
- Remove the detachable shaft and wash with dish soap. If your shaft is dishwasher-safe, the dishwasher works great. Keep the motor unit dry — never submerge it.
Let it dry completely before you store it, and keep it in your soap-making kit rather than back with your kitchen tools.
Frequently Asked Questions About Stick Blenders for Soap Making
Do you need a stick blender to make soap? For cold process soap, you don't technically need one — but it cuts 60 minutes of hand stirring down to 5 minutes. For melt-and-pour soap, you don't need one at all.
Can I use my kitchen immersion blender for soap making? No. Lye residue can contaminate food even after washing. Once a stick blender is used for soap, it needs to be dedicated to soap only.
What wattage stick blender do I need for soap making? Wattage doesn't matter — you'll only use the lowest speed setting. A 200–300W blender works perfectly well.
What are common mistakes in soap making with a stick blender? The biggest mistake is blending continuously instead of in short bursts. Use 2–3 second bursts with hand stirring between each. Over-blending causes soap to reach thick trace before you've had a chance to add colorants or fragrance.
Are stick blenders worth buying for soap making? Yes, completely. A $30 stick blender turns a 60-minute stirring chore into 5 minutes. It's the most useful piece of equipment you'll own for cold process soap making.