Hatching Duck Eggs: Beginner's Guide (Incubator or Natural Method)
Last updated March 11, 2026
I still remember setting my first batch of duck eggs in an incubator and being completely convinced I was going to mess it up. Duck eggs are different from chicken eggs in a few important ways — mostly around humidity and timing — but once you know what those differences are, the process is very manageable. Whether you're planning to use an incubator or hoping a broody duck does the work for you, I'll walk you through everything you need.
Duck Egg Incubation Quick Reference
Before we get into the details, here are the key specs you need:
| Stage | Days | Temp | Humidity | Turning |
|---|---|---|---|---|
| Incubation | 1–25 | 99.5°F (37.5°C) | 55–60% | 3–5x per day |
| Lockdown | 26–28 | 99.5°F | 70–75% | None |
A few quick notes: Most common duck breeds (Pekin, Khaki Campbell, Rouen) hatch at 28 days. Muscovy ducks are the exception — they take 35 days. Actual hatch day can vary by a day or two depending on the age of the eggs and the consistency of your incubator. Expect a 50–70% hatch rate at home — that's normal and not a sign that you did anything wrong.
How Duck Eggs Are Different from Chicken Eggs
If you've hatched chicken eggs before, most of this will feel familiar — but duck eggs have a few quirks that can trip you up if you don't know about them.
- Longer incubation: 28 days instead of 21. Muscovies take 35.
- Higher humidity: Duck eggs need 55–60% humidity during incubation versus 40–50% for chicken eggs.
- Daily misting: Duck eggs need to be cooled and lightly misted with water once a day from day 8 to day 25. Chicken eggs don't need this.
- Tougher shells: Duck eggshells are thicker than chicken eggshells. A little dirt on them is fine — don't wash duck eggs before setting, as washing removes the protective bloom on the shell.
- Broodiness is unreliable: Most common domestic duck breeds (Pekins, Runners, Khaki Campbells) won't reliably go broody or finish sitting on a nest. An incubator is usually the safer bet unless you have Muscovy or Mallard-derived ducks.
Once you adjust for these differences, the process really is similar to hatching chickens. Not harder — just different.
Where to Get Fertile Duck Eggs
To hatch duck eggs, you either need your own drake or you need to source fertile eggs from someone else. Here are the three main options:
-
Your own flock: You'll need a drake running with the hens — roughly one drake per four to six females gets you good fertility rates. Collect eggs over a few days and store them small end down at 55–60°F until you're ready to set them.
-
Local sources: Facebook homesteading groups, farmers markets, and local co-op boards are a great place to start. Locally sourced eggs are usually fresher and cheaper than ordering online. You might be surprised how many people near you have ducks.
-
Online hatcheries: Several hatcheries ship fertile duck eggs. Expect to pay $40–50 per dozen, and know that most don't guarantee fertility — only that the eggs came from fertilized flocks. It's not my first choice, but it works if you can't source locally.
Whatever your source, set the eggs within 7–10 days of laying. Viability drops about 3% per week of storage, so the fresher the better.
How to Hatch Duck Eggs in an Incubator (Step by Step)
This is the method most backyard duck keepers use, and for good reason — it gives you more control and typically better hatch rates than relying on a broody duck.
Choosing an Incubator for Duck Eggs
Not all incubators work equally well for duck eggs. Here's what to look for:
- Automatic egg turner — this is non-negotiable for a 28-day hatch. Manual turning three to five times a day for four weeks is tedious, and every time you open the incubator lid you're disrupting the temperature and humidity.
- Built-in humidity display — you need to be able to read and adjust humidity easily. Duck eggs are unforgiving on this front.
- Forced-air fan — circulates warm air evenly around all the eggs. Still-air incubators have hot and cold spots.
- Digital temperature controls — the analog dial on cheaper models is nearly impossible to set accurately.
- Check the turner tray size — duck eggs are larger than chicken eggs. Make sure the turning slots can actually fit them before you buy.
Setting Up the Incubator
Don't put eggs straight into a cold incubator. Run it for 24 hours first with the settings dialed in so you know the temperature and humidity are stable before your eggs go in.
When you're ready:
- Set temperature to 99.5°F and humidity to 55–60%.
- If your eggs were stored in a cool space, bring them to room temperature for a few hours before setting.
- Mark each egg with an X on one side and an O on the other — this makes it easy to see at a glance whether you've turned them.
- Place eggs in the turner and close the lid.
The 28-Day Incubation Timeline
Here's what happens week by week, and what you'll be doing:
Days 1–7: Eggs are in the incubator, turning 3–5 times daily. Resist the urge to check constantly — every time you open the lid, you're letting humidity escape. Let it run.
Days 7–10 — First Candling: Take each egg to a dark room and hold a bright flashlight or candler to the wide end. A developing egg will show a network of veins and a small dark spot (the embryo). A clear egg is infertile. An egg with a blood ring or murky interior with no defined structure likely had an early death. Remove any non-developing eggs — if they stay in there, they can eventually rot and explode, contaminating your healthy eggs.
Don't panic if you pull several duds. It's completely normal. Your drake may not have reached every egg.
Days 8–25 — Daily Misting and Cooling: Once a day, open the incubator lid and let the eggs sit at room temperature for 15–20 minutes. Then mist them lightly with room-temperature water from a spray bottle, put the lid back on, and walk away. That's it.
This mimics what a broody duck naturally does — she leaves the nest once a day to eat, swim, and bathe, and returns with moisture in her feathers. The daily cooling and misting helps maintain the right moisture loss through the shell and genuinely improves hatch rates. Most beginners skip this step. Don't skip this step.
Days 14–15 — Second Candling: Candle again. The embryo should be clearly visible and taking up a significant portion of the egg. You may even see movement. Remove anything that still looks clear or hasn't developed.
Days 25–26 — Final Candling and Lockdown: Do a last check, remove any eggs that clearly didn't make it, and then put the incubator into lockdown mode:
- Stop turning the eggs.
- Raise humidity to 70–75%.
- Open the ventilation fully.
- Do not open the incubator again unless absolutely necessary.
From this point forward, the ducklings need consistent high humidity to hatch safely. Every time you lift the lid, humidity drops and the membrane inside the egg can begin to dry out and shrink around the duckling — making it very hard to hatch.
Lockdown and Hatching: Pipping, Zipping, and Patience
This part drives everyone a little crazy. Duck hatching is slow, and it's tempting to help. Try not to.
Here's the sequence:
-
Internal pip: A day or two before the shell cracks, the duckling will puncture the inner membrane to reach the air sac. You may hear chirping from the egg. This is wonderful — it means your duckling is alive and getting ready.
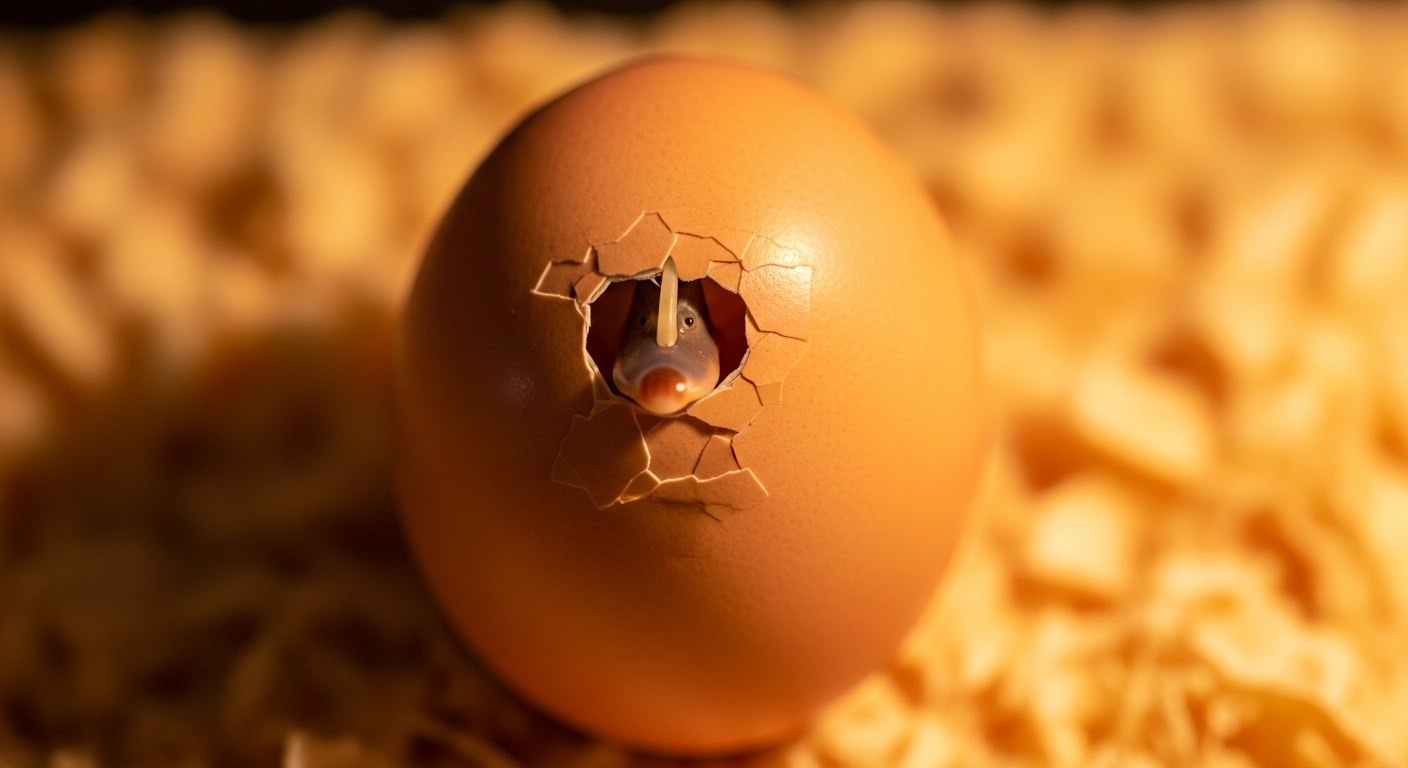
-
External pip: The first visible crack appears in the shell. The duckling is now breathing outside air. From here, it can take anywhere from 12 to 48 hours to fully hatch. Ducks take longer than chickens. They rest, they sleep, they move in slow bursts. This is normal.
-
Zipping: The duckling starts cracking a ring around the circumference of the egg. Once zipping begins, the duckling is usually out within one to two hours.
The only time you should intervene is if the duckling has been externally pipped for more than 12 hours with absolutely zero progress. Even then, go slowly — if you see blood when you gently remove a small piece of shell, stop immediately and wait. More ducklings are lost to premature "helping" than to being left alone.
Once hatched, leave the duckling in the incubator until it's completely dry and fluffy — this can take up to 24 hours. They don't need food or water immediately. They're absorbing their yolk and resting, and they're fine.
How to Hatch Duck Eggs Naturally (Broody Duck or Broody Hen)
You don't necessarily need an incubator. If you have the right bird willing to sit, she can do most of this work for you.
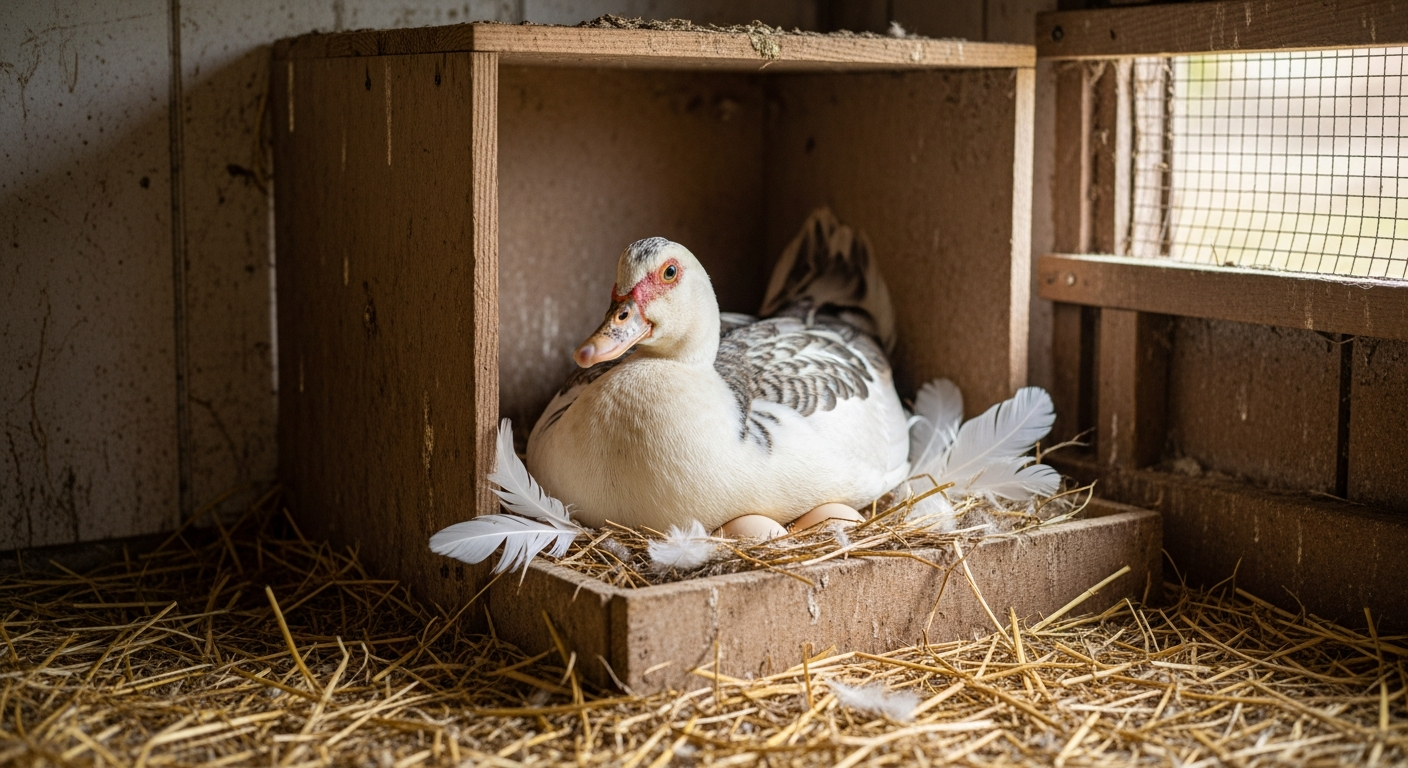
Duck breeds that make reliable natural mothers: Muscovy ducks are the gold standard — they can hatch 12 to 15 eggs at a time and are genuinely dedicated sitters. Mallards and Silver Appleyards are also considered very good. Most common backyard breeds — Pekins, Khaki Campbells, Runners — have been bred away from their maternal instincts and usually won't sit reliably or long enough to finish a hatch.
Here's the part that surprises people: A broody chicken hen will happily hatch duck eggs. She doesn't care what's in the nest — if she's determined to sit, duck eggs work just fine. Cornell University's Duck Research Lab confirms this works well. (Fair warning: when the ducklings want to swim on day three, the hen is going to have strong opinions about it.)
For natural hatching to work, your duck or hen needs:
- Access to clean bathing water — the broody duck leaves the nest daily, swims, and returns with moisture in her feathers. This is the natural version of the misting technique. Without swim access, she can't maintain the right humidity on her eggs.
- A predator-proof nest — a sitting duck is vulnerable. Make sure she's in a secure coop or run, especially at night.
- Spring or summer timing only — just because your duck is laying eggs in October doesn't mean she should be raising ducklings outside. Wait for warm-season hatching.
Watch closely starting around day 24. Some ducks and hens panic when they hear chirping from inside the eggs and will attack them. It doesn't happen often, but it happens. Set a reminder and be prepared to step in if needed.
What to Expect: Realistic Duck Egg Hatch Rates
Here's something nobody tells beginners: a 50–70% hatch rate at home is a completely normal, successful hatch.
Commercial incubators in climate-controlled facilities hit 70–90% because every variable is constantly monitored. At home, with a consumer incubator in a room where the temperature fluctuates, a 60% hatch rate means you did a good job.
The most common reasons eggs don't hatch:
- Infertile eggs — the drake didn't mate with that particular hen. This isn't your fault.
- Temperature fluctuations — brief power outage, someone bumped the incubator, a sunny window spiked the temperature
- Humidity too low during lockdown — this is the most common beginner mistake and why the 70–75% lockdown humidity is so important
- Eggs that were too old — eggs stored more than 10 days before setting have significantly reduced viability
If half your eggs hatch, that's a win. Set realistic expectations, and you won't be disappointed by a completely normal result.
Setting Up the Duckling Brooder
Have the brooder ready before lockdown starts — you don't want to be scrambling when fluffy ducklings start arriving.
When to move them: Wait until each duckling is completely dry and fluffy. Move them in pairs or small groups so no duckling is alone. Minimize how often you open the incubator during active hatching — each time you do, humidity drops and the remaining eggs have a harder time hatching.
Temperature: Start at 90°F in week one. Reduce by 5°F per week until they're fully feathered, around 7–8 weeks.
Heat source: A heat plate is safer than a heat lamp — less fire risk, and ducklings can self-regulate by moving closer or farther from it. A red-bulb heat lamp works too, but don't use white light 24 hours a day.
Water: Use a shallow dish — just deep enough for them to fully submerge their bills. Ducklings haven't developed their oil glands yet, so they can't waterproof themselves. If they get fully wet and chilled before their feathers come in, it can be fatal. They're also extremely messy with water, so expect to change it multiple times a day.
Feed: Use an unmedicated duckling starter feed. This is important: do not use medicated chick starter. Medicated chick feed contains amprolium, which is fine for chicks but can be harmful to ducklings. Ducks also have higher niacin needs than chickens — a feed made specifically for waterfowl or ducklings will have the right balance.
Ducklings can survive the first 24–48 hours on their yolk reserves, so there's no emergency if your brooder isn't 100% ready the moment the first one hatches. But get it set up before day 26.
Frequently Asked Questions
How long does it take for duck eggs to hatch? Most common duck breeds — Pekin, Khaki Campbell, Rouen, and others — hatch at 28 days. Muscovy ducks take about 35 days. The timer starts from when you begin incubation, not from when the eggs were laid.
How long can duck eggs be cold and still hatch? Brief cold exposure (like being left outside overnight in mild weather) is usually fine. For proper storage, keep eggs at 55–60°F and set them within 7–10 days of laying for the best results. You lose roughly 3% viability per week of storage. Avoid letting them freeze.
What temperature and humidity do duck eggs need in an incubator? 99.5°F throughout the entire incubation period. Humidity should be 55–60% from days 1–25, then raised to 70–75% at lockdown on days 26–28.
What's a realistic hatch rate for duck eggs at home? 50–70% is completely normal for home incubation. If your first hatch comes in at 60%, you didn't fail — that's a solid result. The most common causes of failed eggs are infertility, temperature swings, and humidity that's too low during lockdown.
Can a chicken hatch duck eggs? Yes! A broody hen will sit on duck eggs and hatch them without any problem. The main wrinkle is that when the ducklings instinctively want to head to the water, their adoptive chicken mom will have absolutely no idea what to do with them.
Should I help a duckling hatch? Usually no. The hatching process strengthens the duckling and helps it absorb the last of the yolk sac. Only consider helping if the duckling has made an external pip and shown zero progress for 12 or more hours. If you see blood when carefully removing a small piece of shell, stop immediately and wait.
Do ducklings need food and water right after hatching? They can survive the first 24–48 hours on their yolk reserves, so there's no need to panic if they aren't eating right away. Have food and shallow water ready for when they're dry and moving around, but they're not in any danger if it takes a few hours to get everything set up.