How to Make Honey Soap at Home (Melt & Pour or Cold Process)
Last updated March 10, 2026
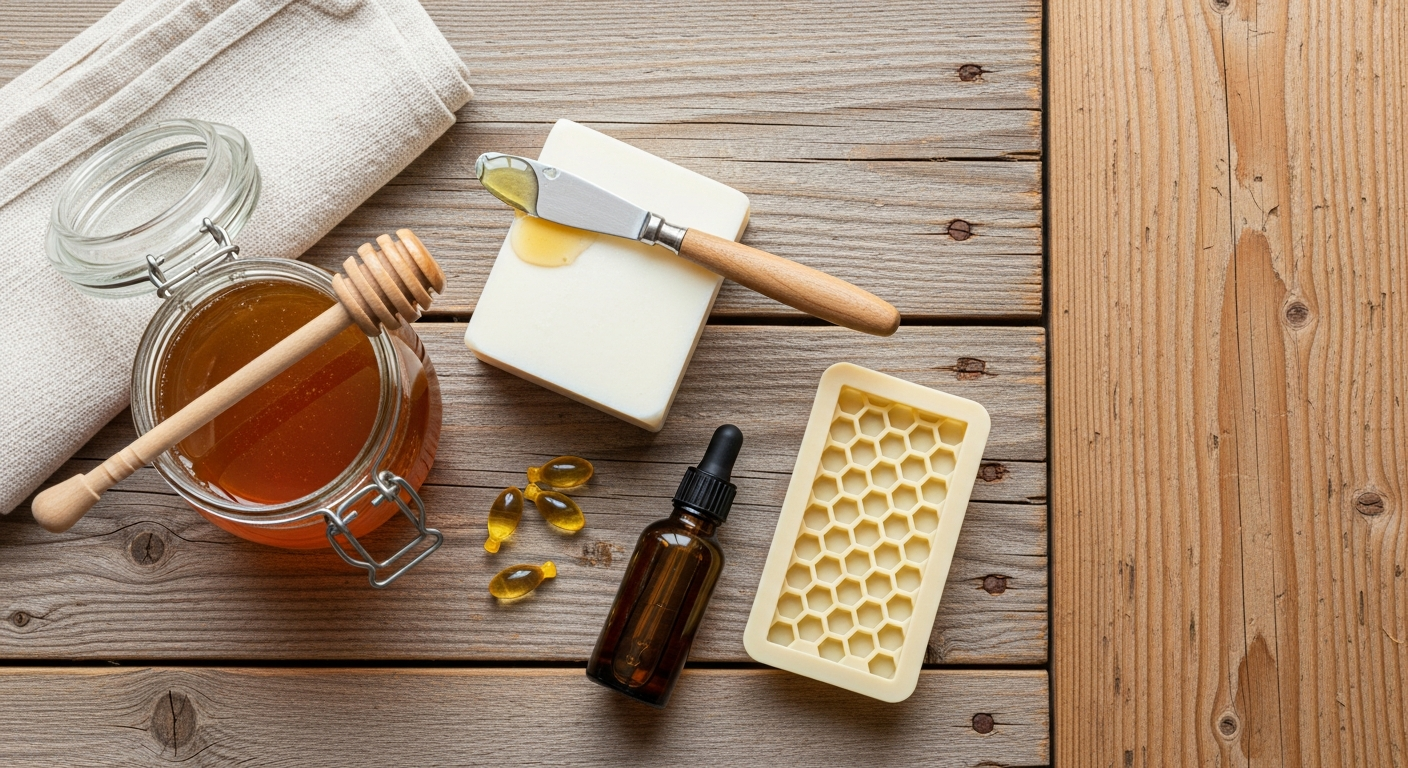 milk soap base, vitamin E capsules, and carrier oil on wood”>
Store-bought honey soap runs $7–$13 a bar. I started making my own after my kids burned through two bars every week, and the cost was adding up fast. Now I make a batch of 12 bars for about $12–$15 — under $1 per bar — and they're honestly better than anything I've bought at the store.
The best part: you don't need a lot of equipment or experience. This guide covers two methods. The melt and pour method takes about 20 minutes and requires zero lye handling — it's a great starting point for beginners. The cold process method takes a little more time and involves lye, but it costs even less per bar and gives you more control over your recipe. I'll walk you through both so you can pick the one that fits where you're at right now.
Quick Snapshot: Melt & Pour vs. Cold Process
Both methods make great honey soap. Here's how to decide which one to try first.
| Melt & Pour | Cold Process | |
|---|---|---|
| Lye required? | No | Yes |
| Active time | ~20 min | ~45 min |
| Wait time | 2–4 hrs | 28 day cure |
| Skill level | Beginner | Intermediate |
| Cost per bar | ~$1 | ~$0.75 |
| Best for | Same-week gifting | Bulk batches, longer shelf planning |
What Honey Does for Your Skin
Honey is a natural humectant — it draws moisture from the air and holds it against your skin. That's why honey soap feels so different from regular bar soap after you use it. Your skin doesn't feel stripped or tight; it feels soft. Honey also has mild antibacterial properties, boosts lather in soap formulas, and acts as a gentle exfoliant thanks to the natural fruit acids it contains. If you’re curious about exactly why this combination is so wonderful for skin, I wrote a dedicated post on the oatmeal and honey soap benefits that breaks it all down.
Raw, unfiltered honey is best for soapmaking because it retains the most active properties. Local wildflower honey is a great option if you have access to a beekeeper or a farmers market — it's a natural fit for homesteaders who keep bees or buy local. That said, you don't need anything fancy. Any raw honey works.
Does Honey Soap Help with Eczema or Dry Skin?
Honey soap is a solid choice for dry or eczema-prone skin. Honey's humectant and antibacterial properties help keep skin moisturized and calm, and the goat milk base used in melt and pour recipes adds an extra layer of gentle conditioning. If you're making soap for eczema-prone skin, go fragrance-free — skip the essential oils and fragrance oils entirely. Unscented goat milk honey soap is genuinely one of the gentler options out there for sensitive skin. Patch test on the inner wrist before using on a larger area, especially for babies or anyone with known sensitivities.
Can You Use Honey Soap on Your Face?
Yes — honey is gentle and moisturizing, and a goat milk or oat milk melt and pour base is well-suited for facial use. If you want to make it extra gentle for face use, stir in a pinch of finely ground oatmeal (about 1/4 teaspoon per pound) when you mix in the honey. For facial soap, skip the essential oils or use them at a very low amount — facial skin is more reactive than body skin, and even natural oils can cause irritation.
What You Need to Make Honey Soap
On honey type: Raw, unfiltered honey is ideal. Local wildflower honey works great. Avoid crystallized or creamed honey in melt and pour — it won't blend smoothly and can clump in the bars. If your honey has crystallized, gently melt it in a warm water bath before using.
Melt & Pour Honey Soap Ingredients
- 1 lb (16 oz) goat milk or oat milk melt and pour soap base
- 1/2 teaspoon raw honey
- 2 capsules vitamin E oil (squeeze out the oil)
- 1 tablespoon carrier oil — sweet almond, jojoba, or argan
- Optional: 5–10 drops lavender essential oil or honey fragrance oil
A note on honey amount — this is the most common mistake: Most melt and pour honey soap recipes online call for 1–2 tablespoons of honey per pound of base. That's too much. At that amount, your bars will be soft, they'll sweat glycerin beads excessively, and the honey may pool separately in the bar instead of blending in. Stick to 1/2 teaspoon per pound. You still get all the skin benefits without ruining the bar — I learned this the hard way on my second batch.
Supplies:
- Microwave-safe glass measuring cup or double boiler setup
- Silicone soap mold (a 6-cavity mold is ideal; honeycomb molds are beautiful for honey soap)
- Silicone spatula
- Rubbing alcohol in a spray bottle (optional but helpful)
Cold Process Honey Soap Ingredients
This is a simple, beginner-accessible cold process recipe — no palm oil, uses shea butter instead. Always run your specific recipe through a soap calculator (SoapCalc.net is free) before you start, because small changes to oils affect the lye amount.
1 lb / 454g batch:
- 135g coconut oil (lather and hardness)
- 90g shea butter (conditioning, replaces palm)
- 113g olive oil (moisturizing)
- 90g sunflower or sweet almond oil (skin conditioning)
- 27g castor oil (lather boost)
- Raw honey: 1 teaspoon, added at trace
- Sodium hydroxide + distilled water (calculate amounts with a soap calculator)
- Optional: oatmeal sprinkle on top
Supplies:
- Rubber gloves and goggles — non-negotiable
- Dedicated stainless steel or enamel soap pot (not for food use after)
- Digital thermometer
- Immersion blender
- Individual silicone cavity molds (not a loaf mold — more on this in the recipe)
- Digital kitchen scale
How to Make Honey Soap — Melt & Pour (No Lye Needed)
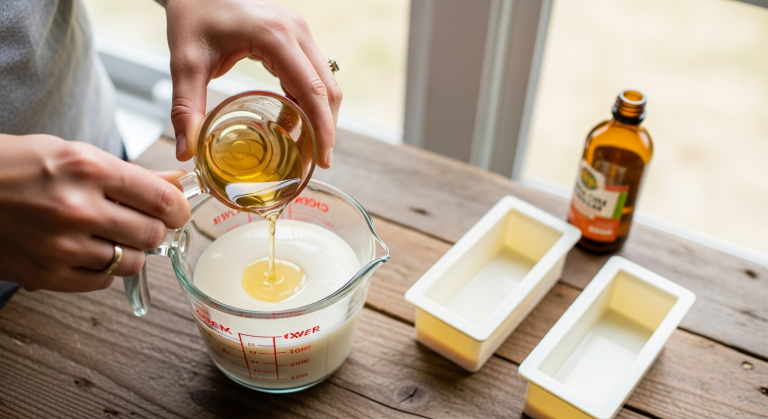
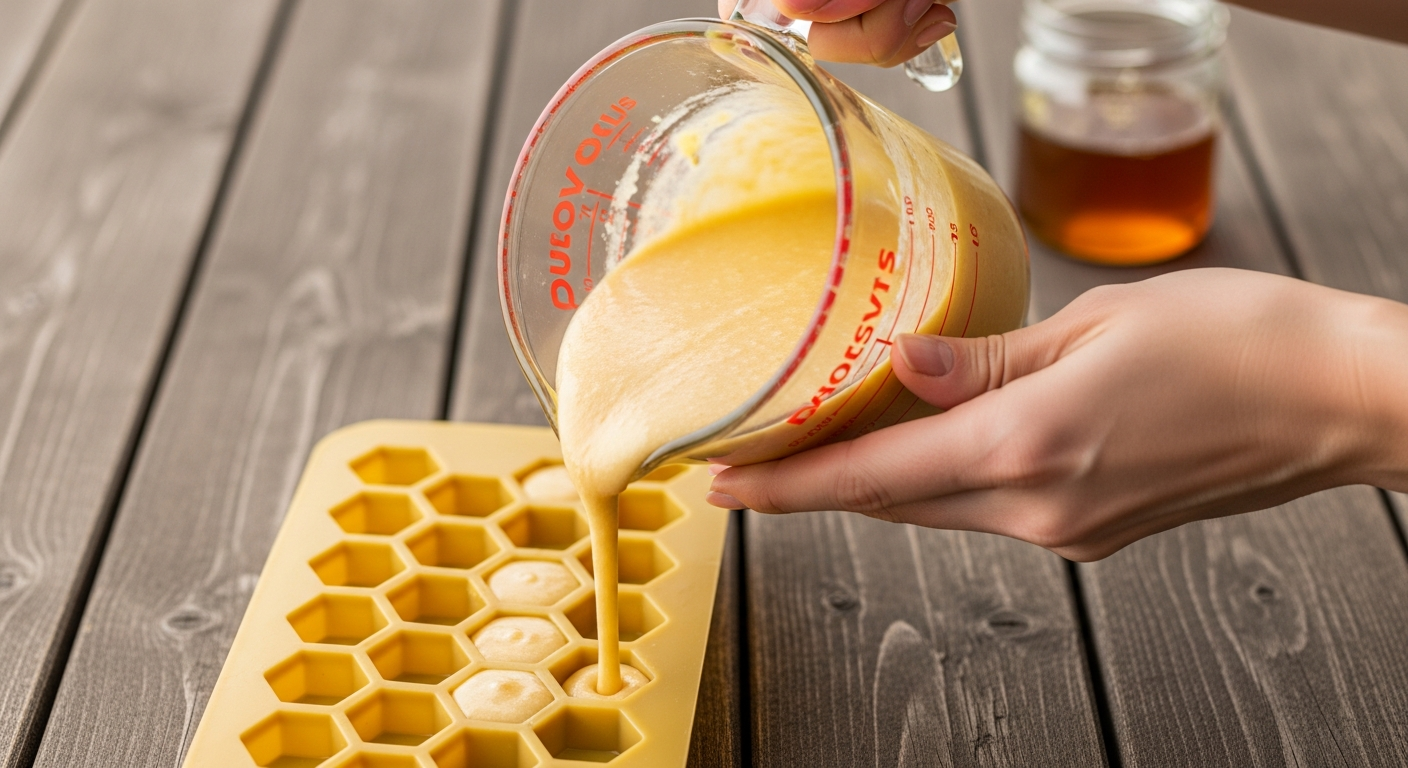
This is genuinely easy — I've made this with my kids on a Saturday afternoon. The most important tip is to let your melted base cool a little before adding the honey; if it's too hot, the honey scorches and your bars go dark and off-smelling.
-
Cut your soap base into 1-inch cubes so it melts evenly.
-
Melt the base in a microwave-safe glass measuring cup. Use 30-second bursts, stirring between each one. Stop when it's just fully melted — don't overheat it.
-
Let it cool slightly before adding anything. You want it warm but not scalding — about 120°F if you have a thermometer, or "I can hold the cup comfortably" if you don't. This step matters; adding honey to boiling-hot base is what makes bars dark and grainy.
-
Stir in the honey, vitamin E oil, and carrier oil. Mix gently until everything is evenly combined.
-
Add fragrance or essential oil if using. Stir slowly — don't whip air into the batter.
-
Pour into your mold. Immediately spritz the top lightly with rubbing alcohol. This pops any surface bubbles and gives you a smooth top.
-
Let set for 2–4 hours until fully firm. Unmold and wrap each bar in plastic wrap right away to prevent glycerin dew from forming on the surface.
That's it. Bars are ready to use — or gift — the same day.
How to Make Honey Soap — Cold Process Method
There's more to keep track of here, but it's totally manageable once you've done it once. The key difference with honey soap in cold process: honey heats up your soap batter. You have to account for that to avoid cracked, dark, or crumbly bars. Use individual cavity molds instead of a loaf — they release heat faster and prevent the overheating problems that honey can cause.
-
Put on your gloves and goggles before you do anything else. Work in a ventilated space — outdoors is ideal when making the lye solution.
-
Measure and melt your solid oils (coconut oil, shea butter) in your soap pot over low heat. Add the liquid oils and stir to combine. Set aside to cool.
-
Make your lye solution. Always pour the lye crystals INTO the water — never the other way around. Stir until fully dissolved. It will heat up dramatically; that's normal. Leave it to cool in a safe spot.
-
Bring both to 100–110°F. Check temperatures with your thermometer. You want the oils and lye solution at roughly the same temperature before combining.
-
Pour the lye solution into the oils. Use an immersion blender to blend to light trace — when the mixture looks like thin pudding and leaves a faint trail on the surface when you drizzle a bit across the top. If you want perfect trace every time, check out my picks for the best stick blender for soap making.
-
Add the honey at light trace. Don't add it directly to the batter — stir it into a tablespoon of the warm oils first, then fold that mixture into the batter. This prevents the honey from seizing up when it hits the lye.
-
Add any fragrance or essential oil and stir in.
-
Pour into individual silicone cavity molds. Leave uncovered for 48 hours. Don't insulate or cover — you want that heat to escape.
-
Unmold and cure. After 48 hours, pop the bars out and place them on a rack, spaced apart, out of direct sunlight. Cure for 28 full days. The wait sounds painful, but the bars genuinely get better — harder, milder, longer-lasting. Cold process soap that hasn't cured properly is still somewhat lye-active and harsher on skin.
Honey Soap Troubleshooting
Soap is too soft and won't firm up (melt & pour)
You used too much honey. More than 1 teaspoon per pound in M&P will make bars that never quite firm up. Try chilling the mold in the refrigerator for an hour — that often helps. Use less honey in your next batch; 1/2 teaspoon per pound is the sweet spot.
Soap cracked or turned very dark (cold process)
Honey overheated. This happens when honey is added too early (into the lye solution is a common mistake) or when the soaping temperature was too high, or when a loaf mold traps heat. Fix for next time: add honey only at light trace, mixed into a spoonful of warm oils first; always use individual cavity molds for honey soap.
White beads or water droplets on the surface
That's glycerin dew — completely normal for melt and pour soap. The glycerin in the base draws moisture from the air. It's not a defect and doesn't affect how the soap works. Just wrap your bars in plastic wrap within an hour of hardening to prevent it.
Bars won't pop out of the mold
Almost always a mold issue. Silicone molds release easily with a gentle push from the bottom. If you used a rigid plastic mold, put the whole thing in the freezer for 30 minutes — the bars will contract slightly and release cleanly.
Honey Soap as a Homemade Gift
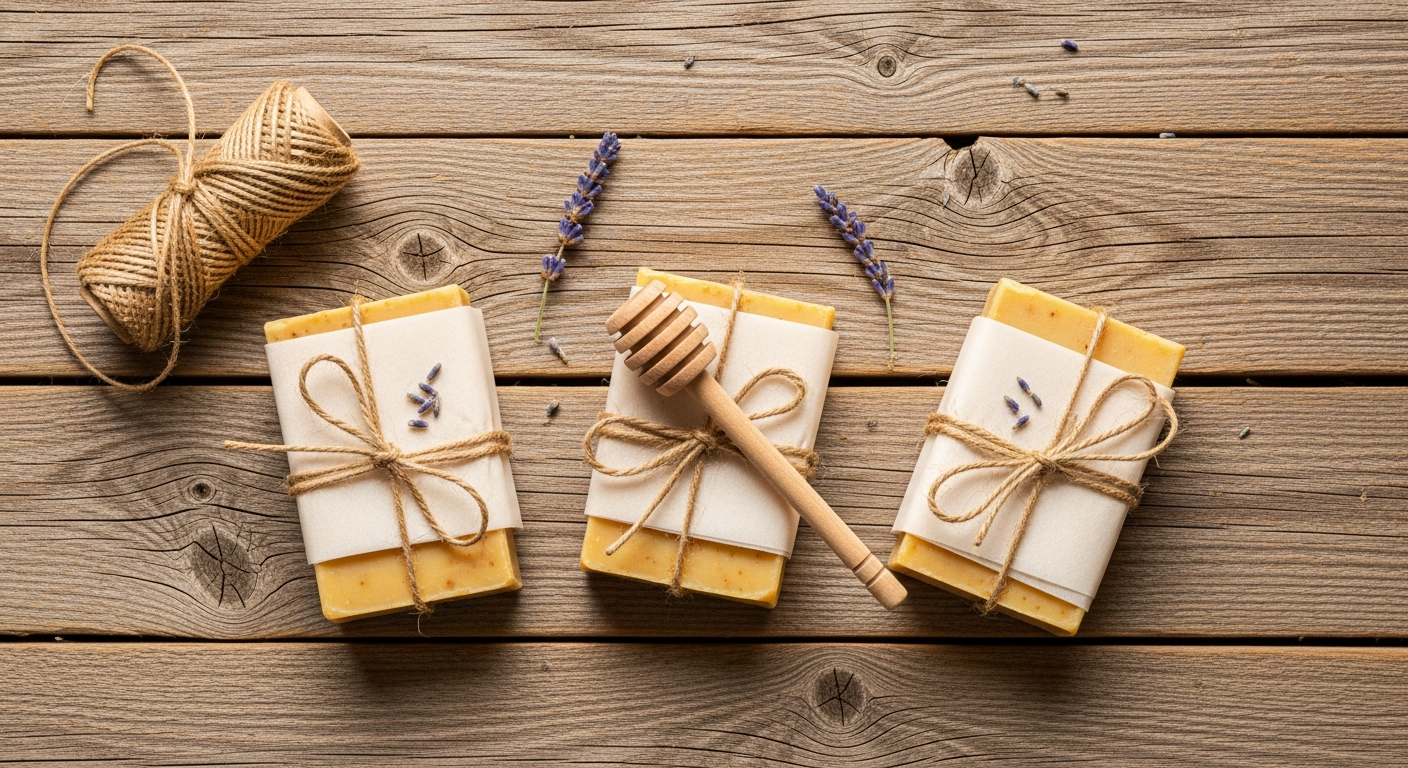
Honey soap is one of those gifts that looks like you spent way more than you did. The natural golden color, the warm scent, the handmade label — people love it. A honeycomb silicone mold makes bars that look professionally made right out of the mold, no extra decoration needed. These bars are wonderful gifts — add a soap stamp to give them that polished, boutique-soap look.
For wrapping, wax paper and twine is all you need. Cut a square of wax paper, wrap the bar like a package, fold the ends under, and tie with twine. If you want to add a little something extra, tuck in a small wooden honey dipper. It costs about $5 for a pack of them and makes the whole thing look intentional.
On timing: Melt and pour bars are ready to gift the same day. Cold process bars need the full 28-day cure before they're ready — plan ahead if you're making them for a holiday. Cold process honey soap makes beautiful Christmas gifts if you start in late October or early November.
Glycerin dew tip for gift giving: If you're gifting M&P bars within a week of making them, wrap each bar tightly in plastic wrap first, then add the decorative wax paper wrap on the outside. The plastic layer prevents glycerin dew from forming while the bar is sitting in someone's gift basket.
Honey soap works beautifully in Mother's Day gift baskets, teacher appreciation bundles, or Christmas gift sets alongside a lotion bar or shower steamers.
FAQ — Honey Soap Questions Answered
Is honey soap good for your skin?
Yes — honey is a natural humectant that draws moisture to skin, has mild antibacterial properties, and creates extra lather. It's especially good for dry or sensitive skin types, and a goat milk base adds even more conditioning.
What type of honey is best for making soap?
Raw, unfiltered honey is best — it retains the most active properties. Local wildflower honey is a great option if you have it. Avoid crystallized or creamed honey in melt and pour — it won't blend smoothly. If your honey has solidified, gently warm it in a cup of hot water before using.
How long does homemade honey soap last?
Melt and pour honey soap lasts 1–2 years if kept in a cool, dry place. Cold process honey soap is similar, though bars with a high percentage of unsaturated oils (sunflower, sweet almond) may develop rancidity sooner. Store bars somewhere dry and airy, not in a sealed container.
Can I make honey soap without lye?
Yes — that's exactly what the melt and pour method is. You start with a pre-made soap base that's already been through the lye process; you just melt, add your ingredients, and pour. No lye handling required.
Does honey soap smell like honey?
Faintly. The natural scent is subtle — warm and clean with just a hint of sweetness. If you want a more pronounced honey scent, add a honey-type fragrance oil (5–10 drops per pound for melt and pour). Lavender is also a beautiful pairing with honey.
Why is my honey soap sweating?
Glycerin dew — normal for melt and pour soap, especially in humid weather. The glycerin in the base draws moisture from the air. It's not a defect and doesn't affect the soap's performance. Wrap bars in plastic wrap right after hardening to prevent it.
How much honey per pound of soap?
For melt and pour: no more than 1/2 teaspoon per pound. For cold process: about 1 teaspoon per pound. More than that and your bars go soft, sweat excessively, or the honey may pool at the bottom instead of staying evenly distributed.
Can you use honey soap on a baby?
A fragrance-free melt and pour goat milk base with a small amount of honey is generally very gentle. Skip all essential oils and fragrance for baby skin. Do a patch test on the inner wrist first — even natural ingredients can cause reactions in sensitive skin. Speaking of pantry ingredients in soap, turmeric soap is another beautiful option worth trying.